mepeisen - 05-25-2017 17:50 - Localized holograms
Another important milestone for minigames version 2.
Holograms are individualized for each player. And there is even a whitelist to hide holograms from players except those from whitelist.
Let my mini me look at some hologram.
No trick... I only used paint to color up the text so that you see it in the dark.

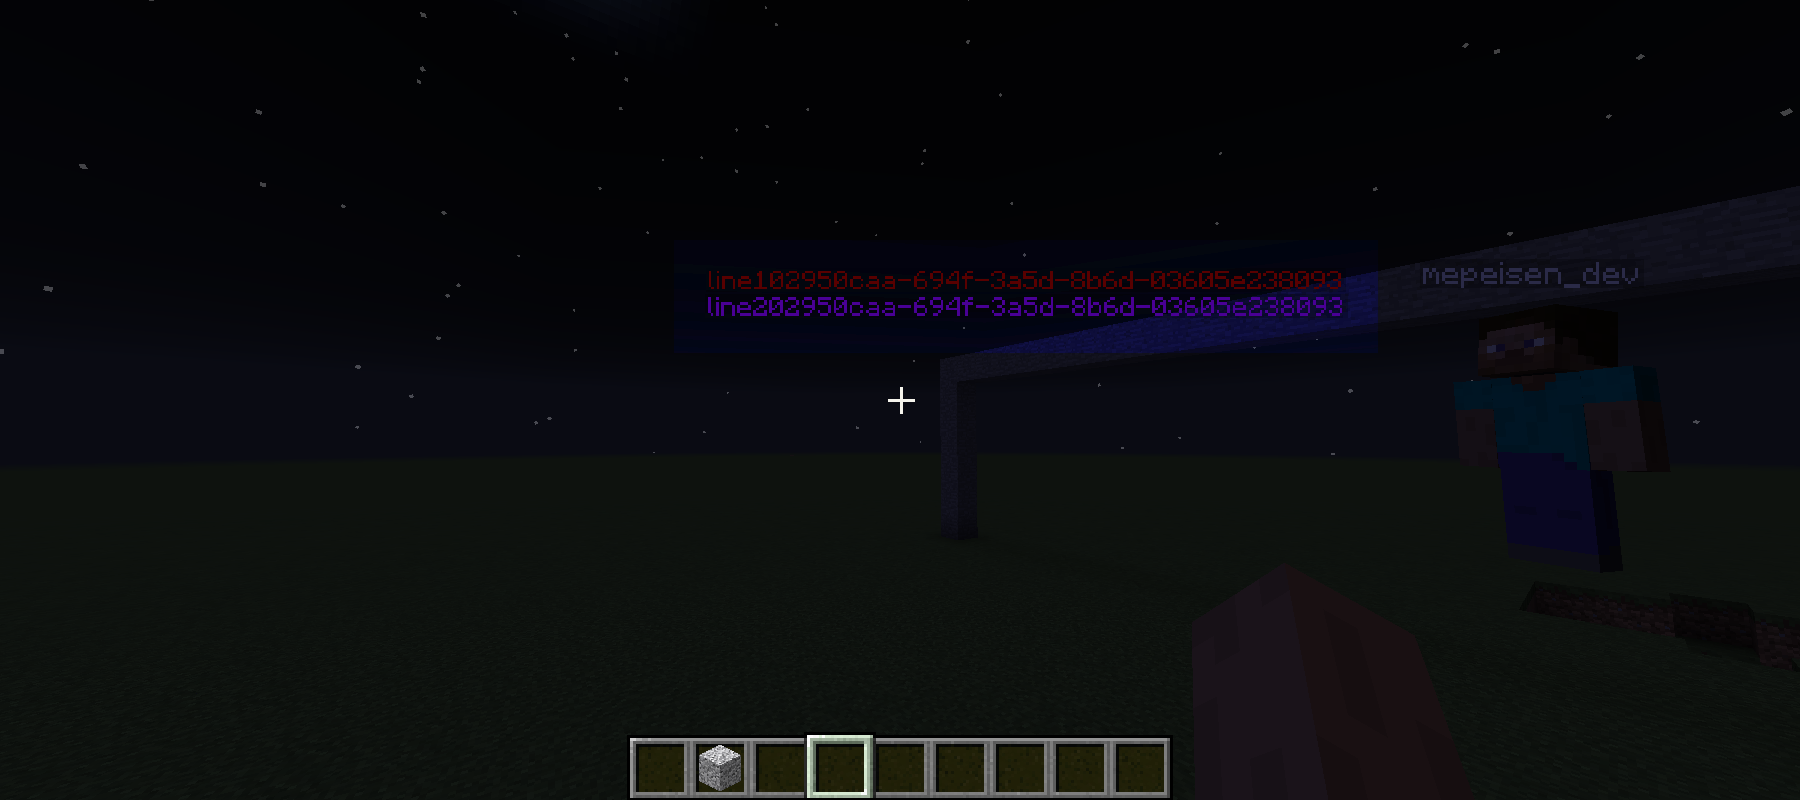
The same hologram but viewed from my main account.
Simple example: The placeholders in string "{player_name} you have hunted for {kills} Kills." are replaced with each players statistic. And it supports localization as well. One player may get English text and another player may get German text.
Holograms can even be whitelisted to only display for some people, for example debug info for admins only?
mepeisen - 05-20-2017 13:50 - video showcast #1
Let me share some video from our version 2 alpha.
mepeisen - 04-18-2017 19:00 - Changing arena lobby
Another arena object is a zone. A zone is some area made of multiple blocks.
You already know them from version 1: The lobby bounds are creating the zone "lobby".
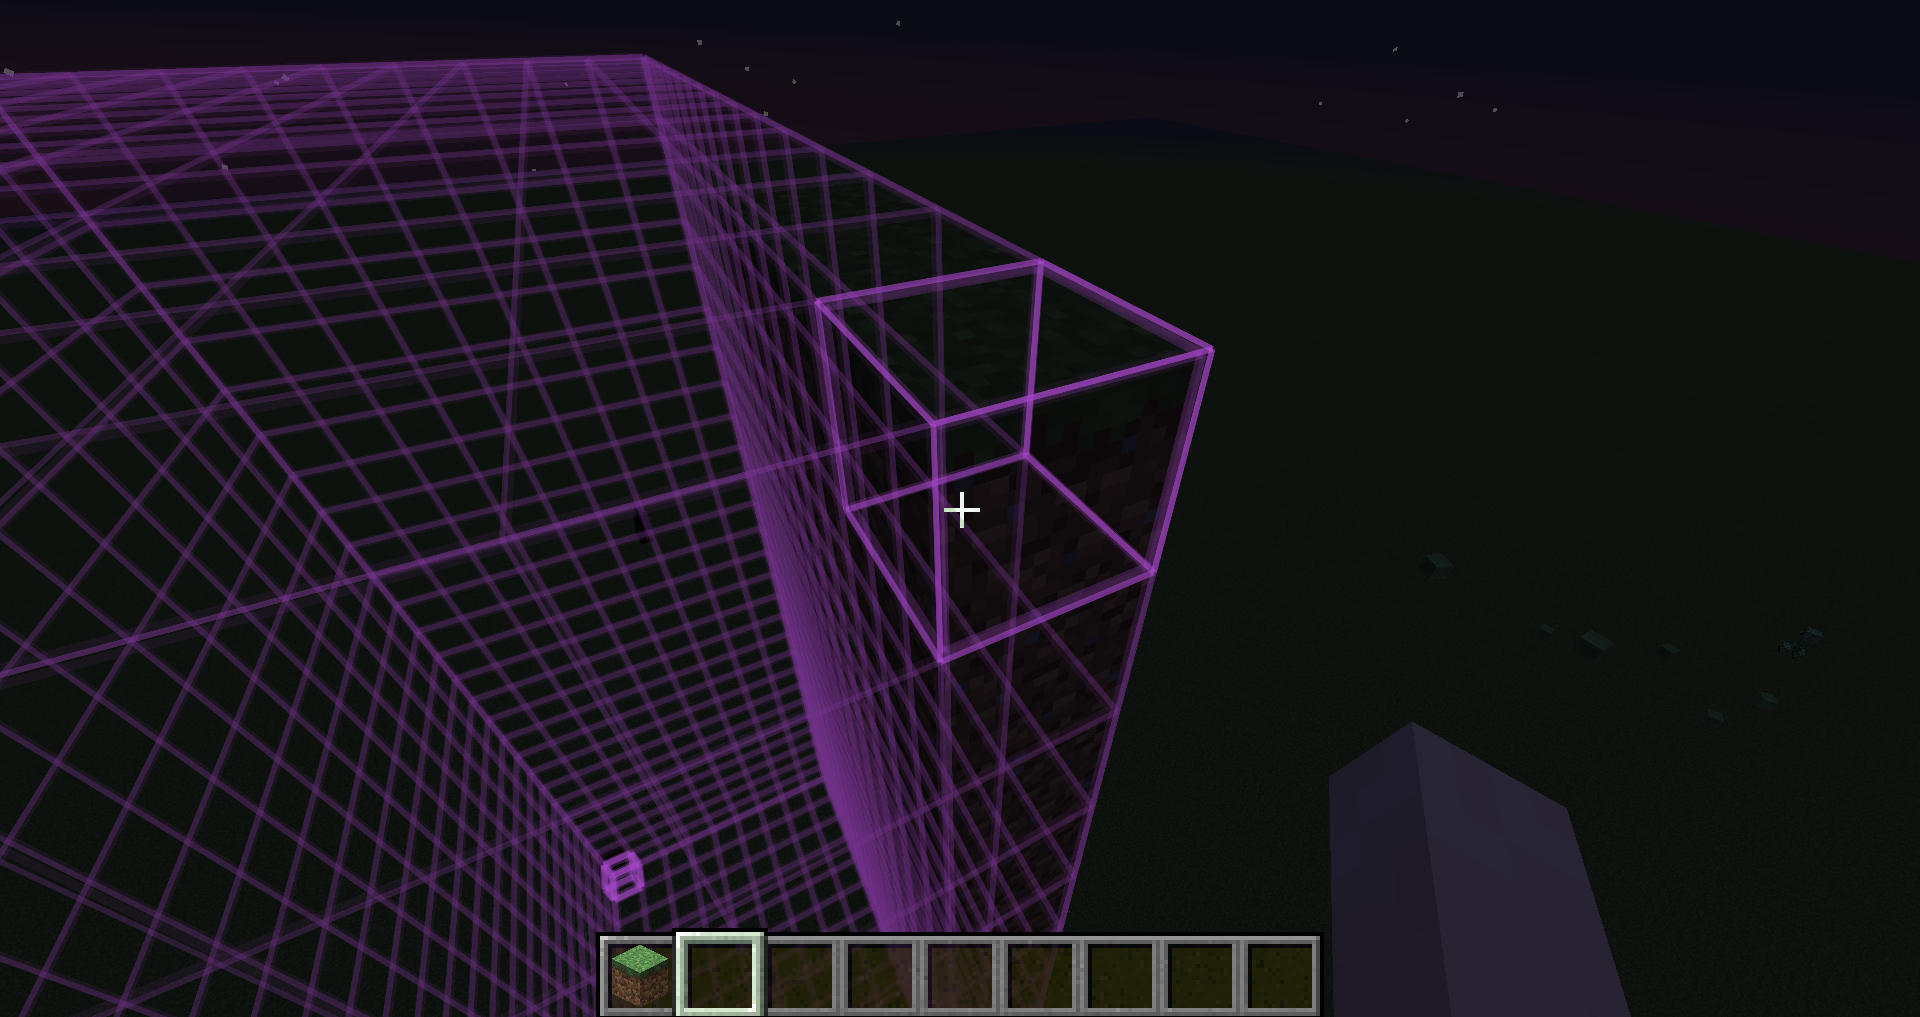
Let us use graphical markers for our zone "lobby1".
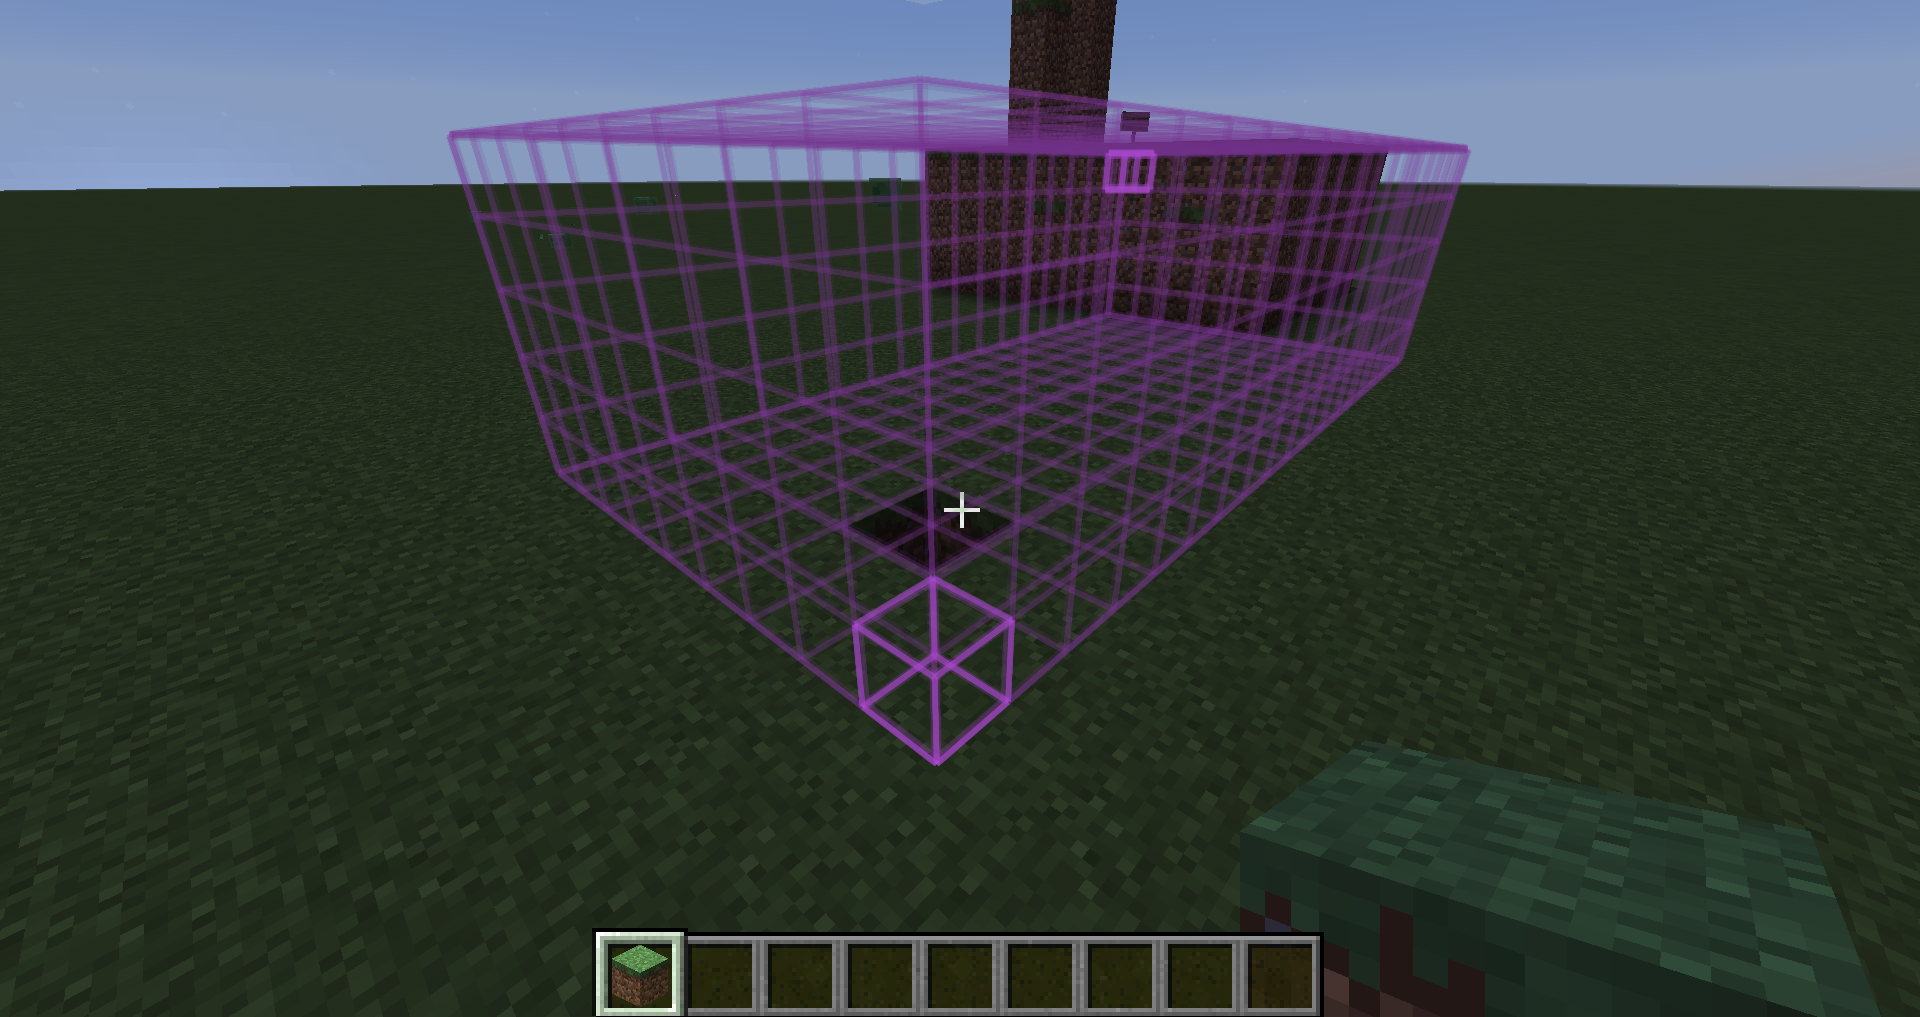
Ooops, I did something bad.
My lobby is only some blocks high and it overlaps the signs.
I want to fix it and create a small but high building for the lobby.
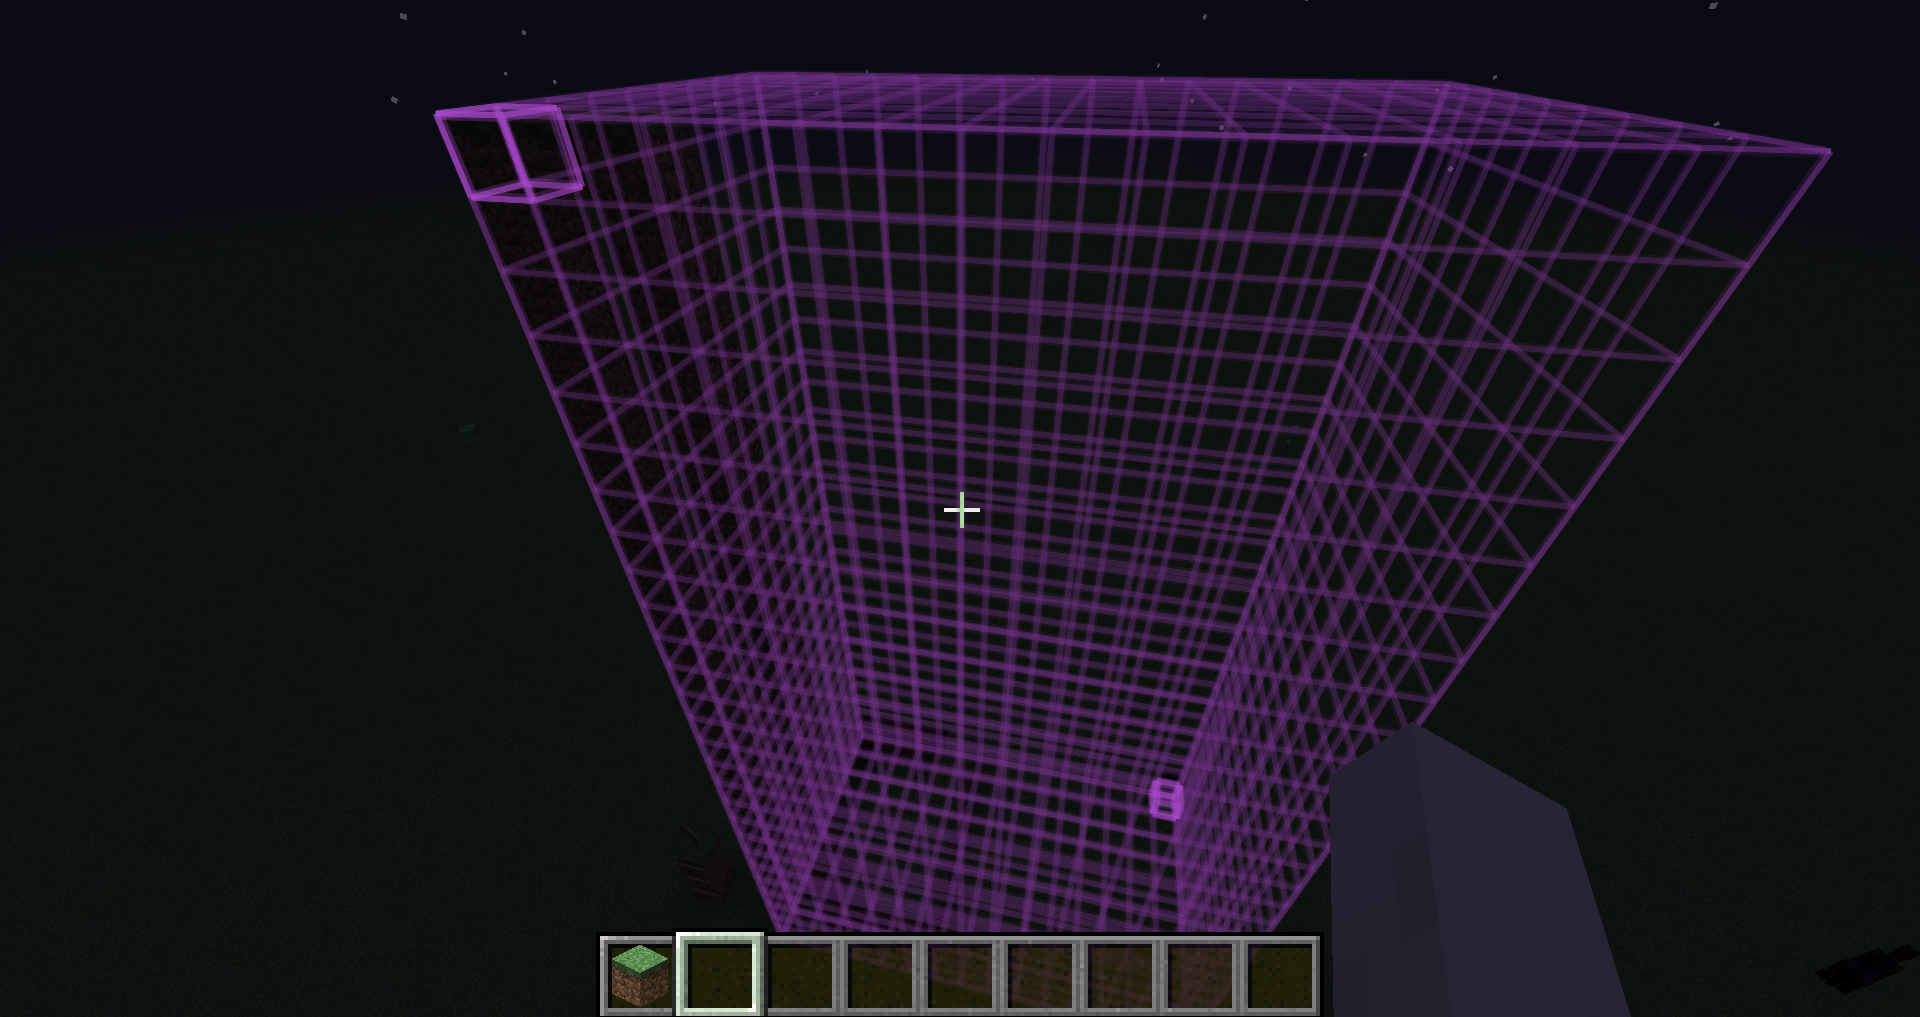
Let us choose the "relocate higher bounds" icon.
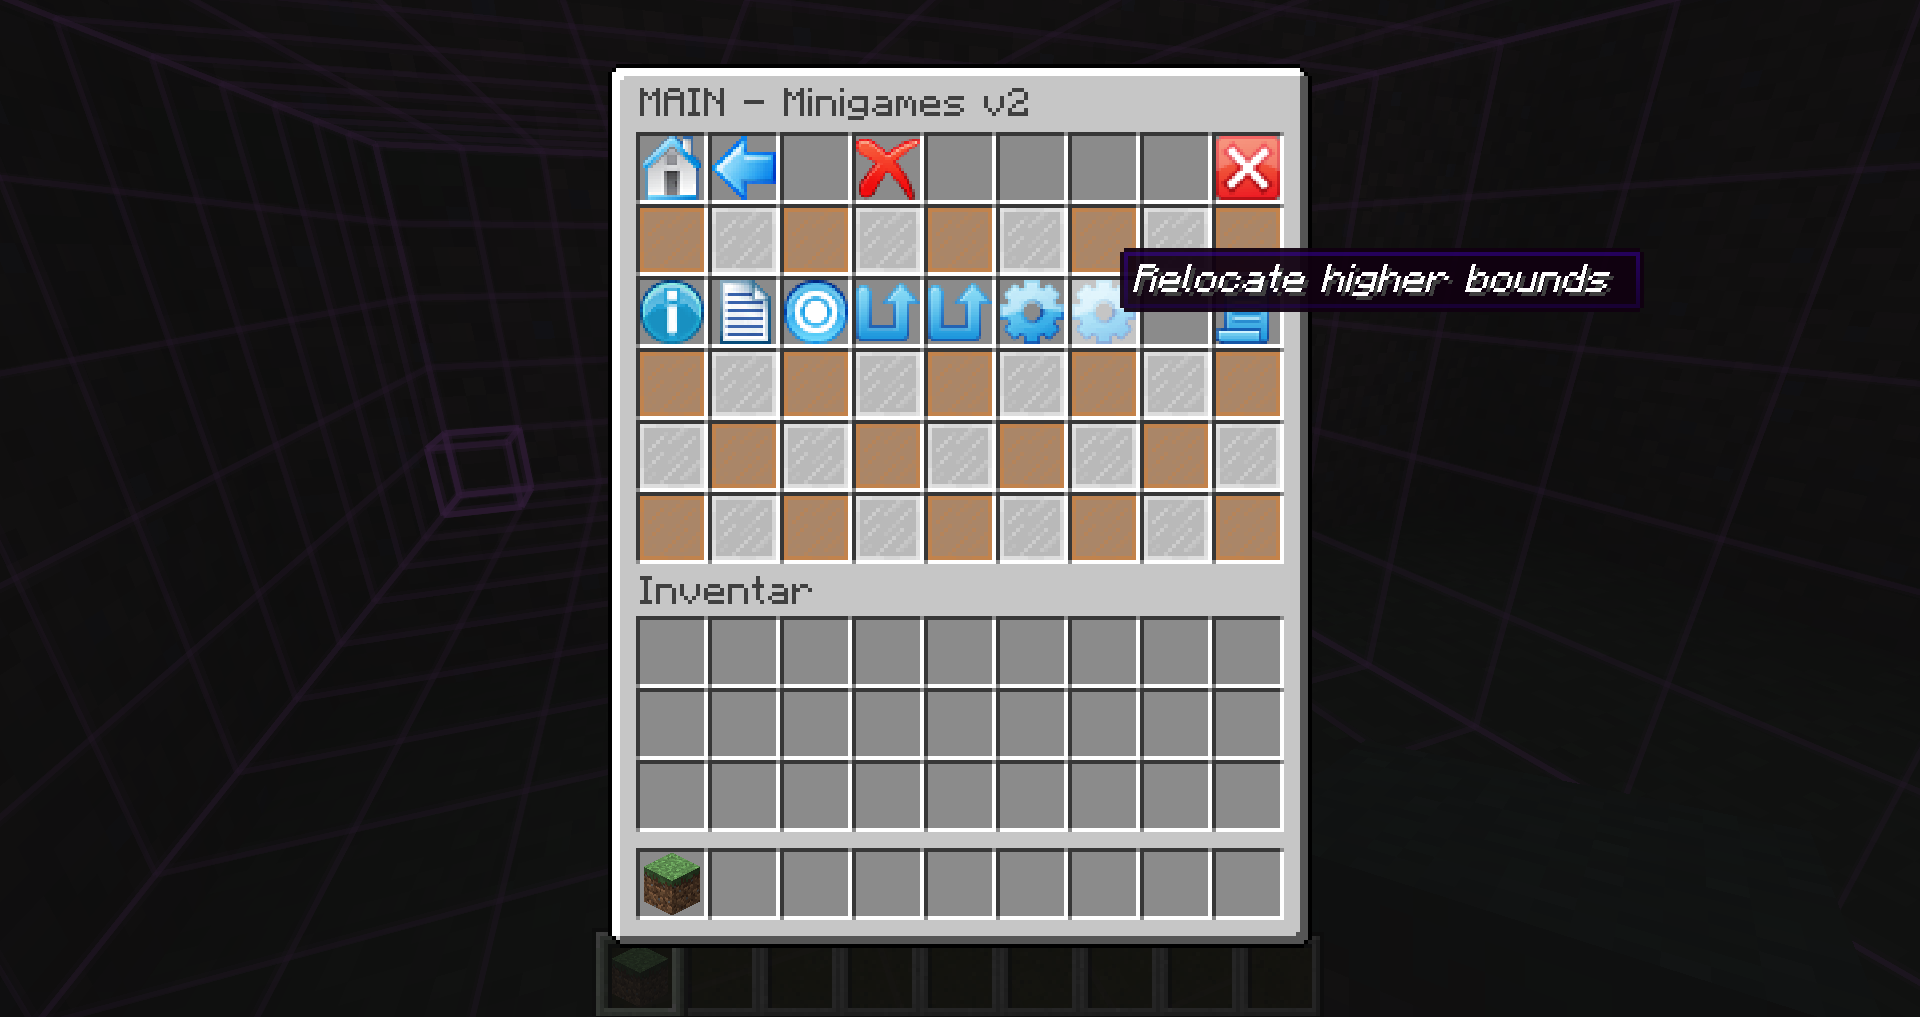
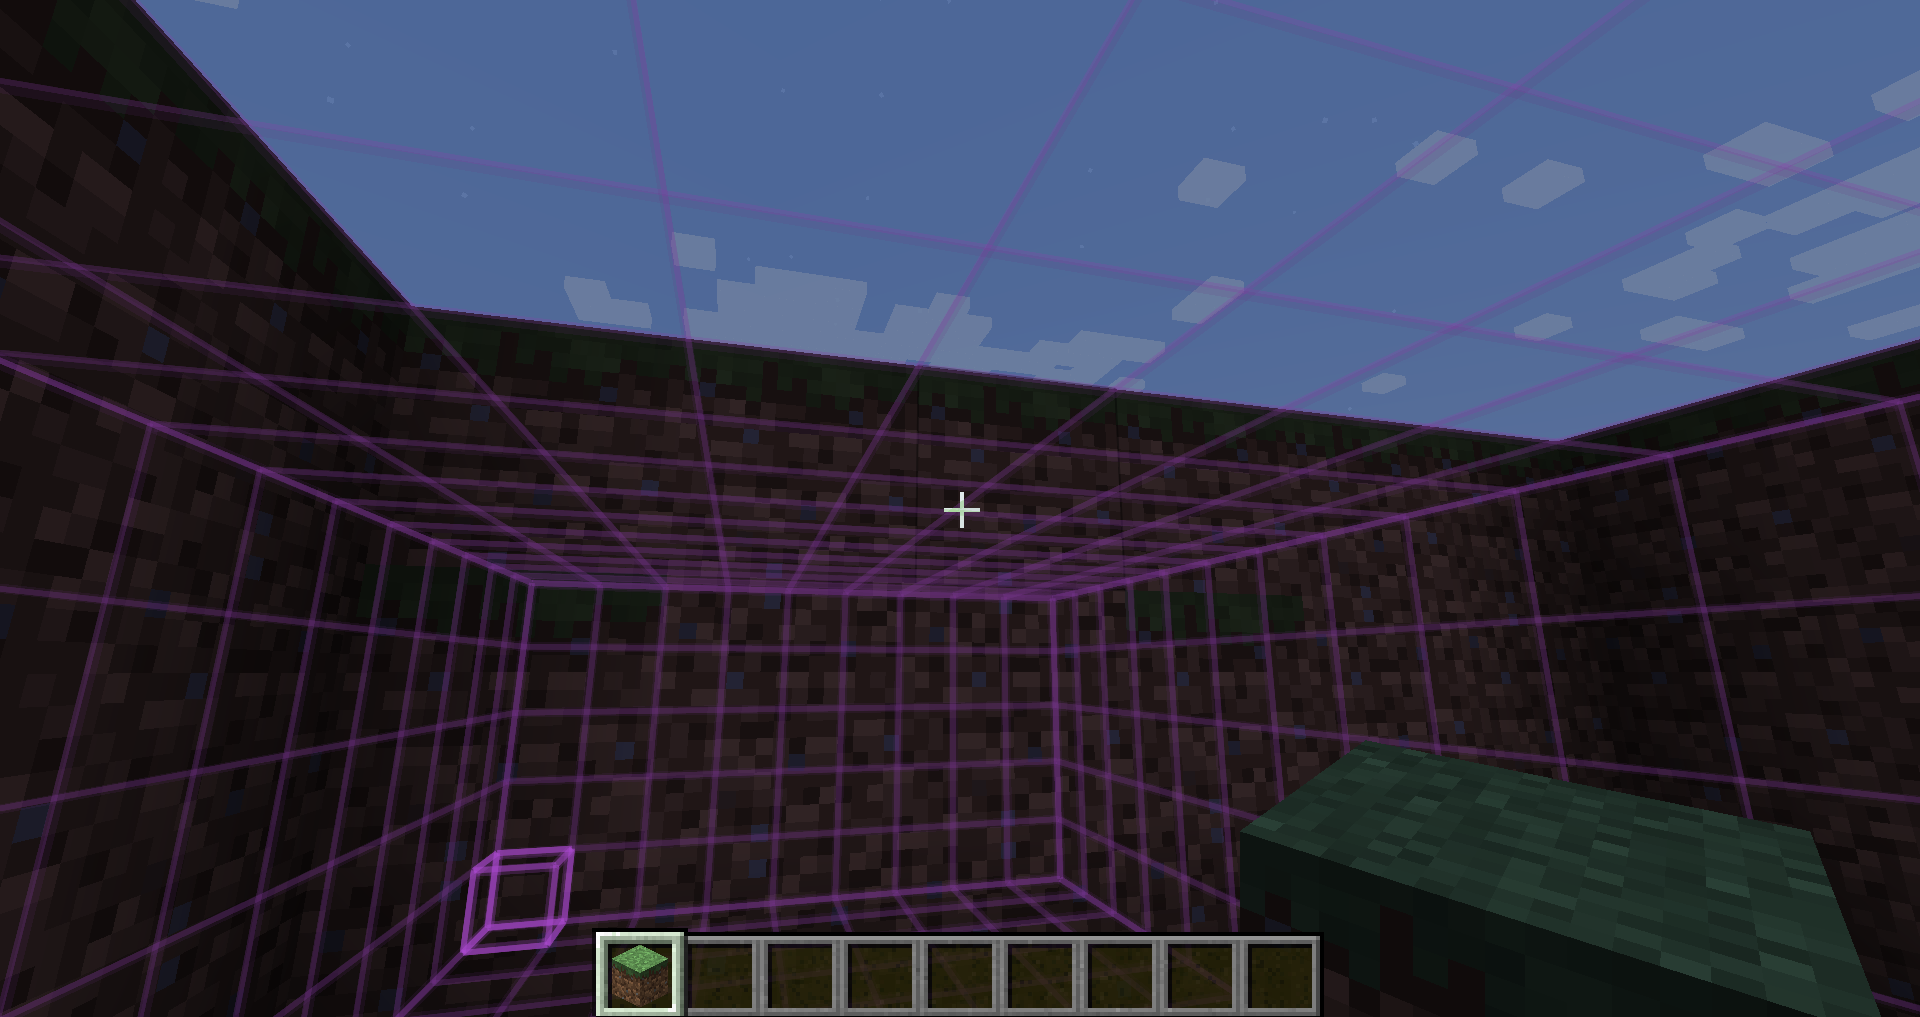
We got a pinion tool to select the new higher bounds.
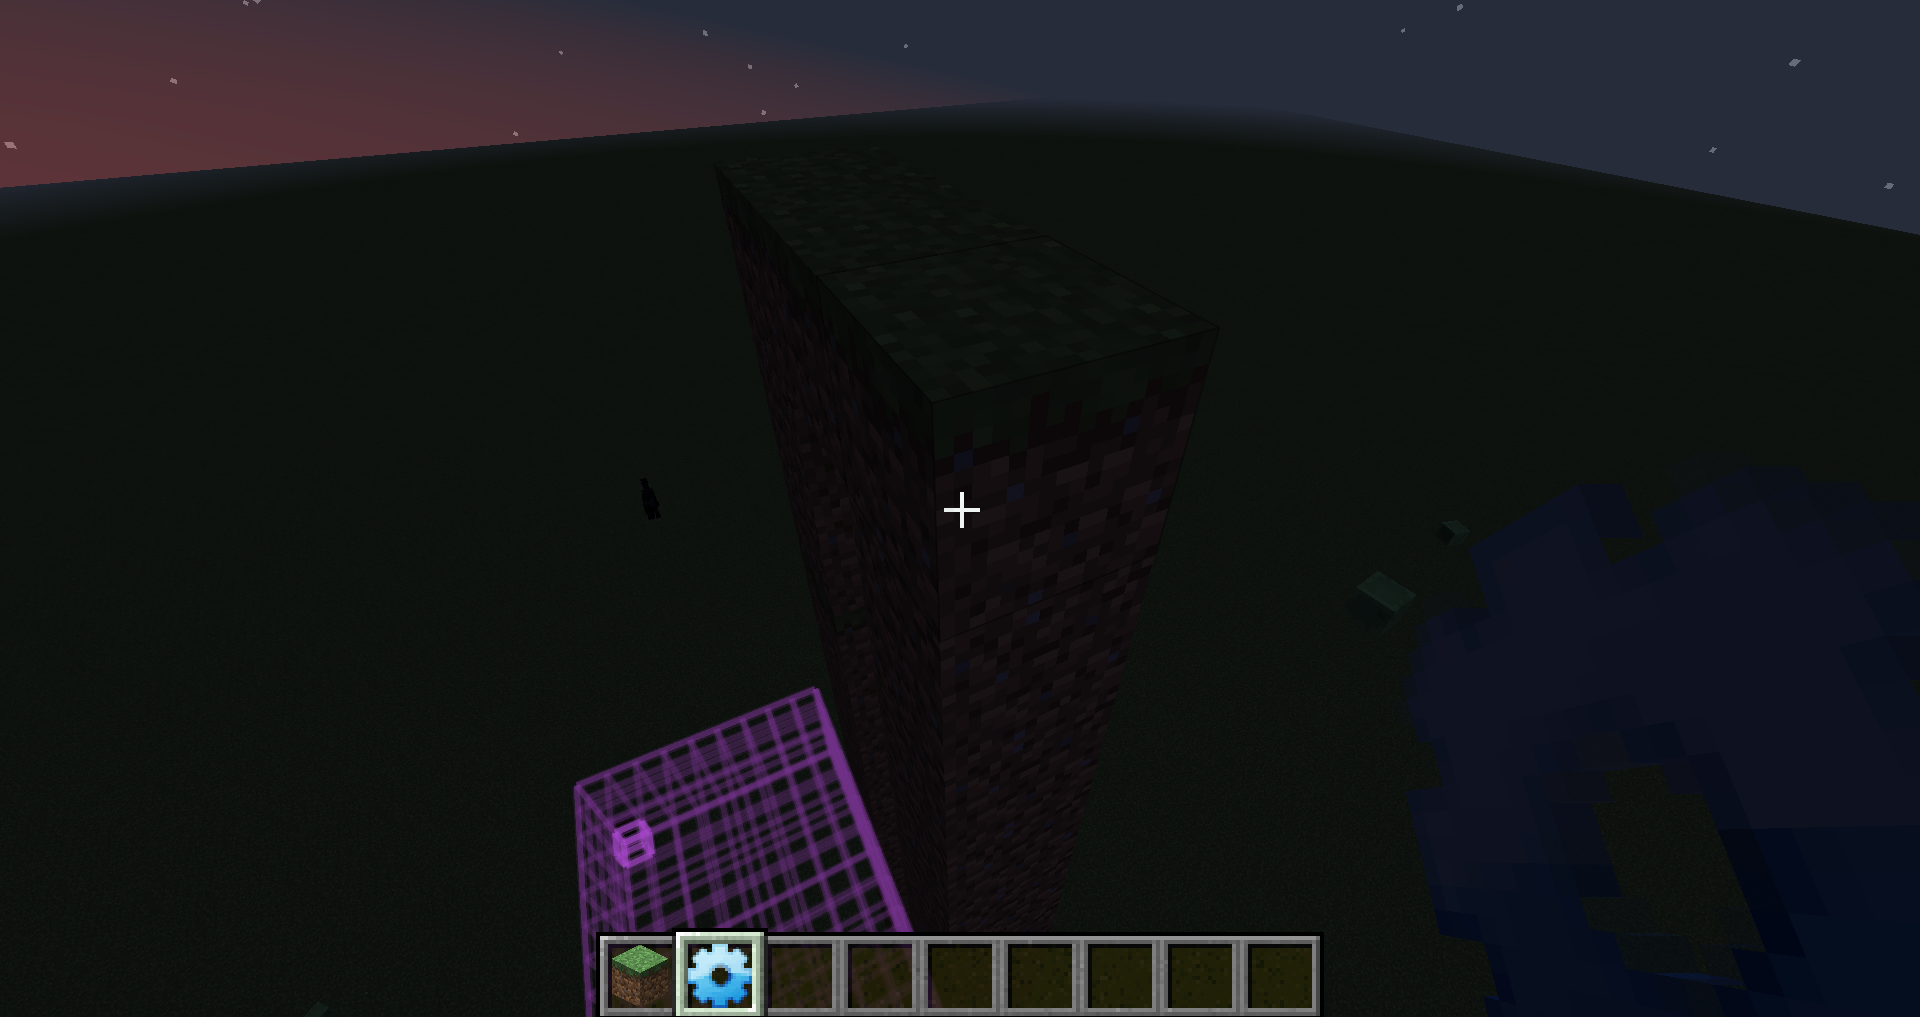
Let us go to the top of our new building.
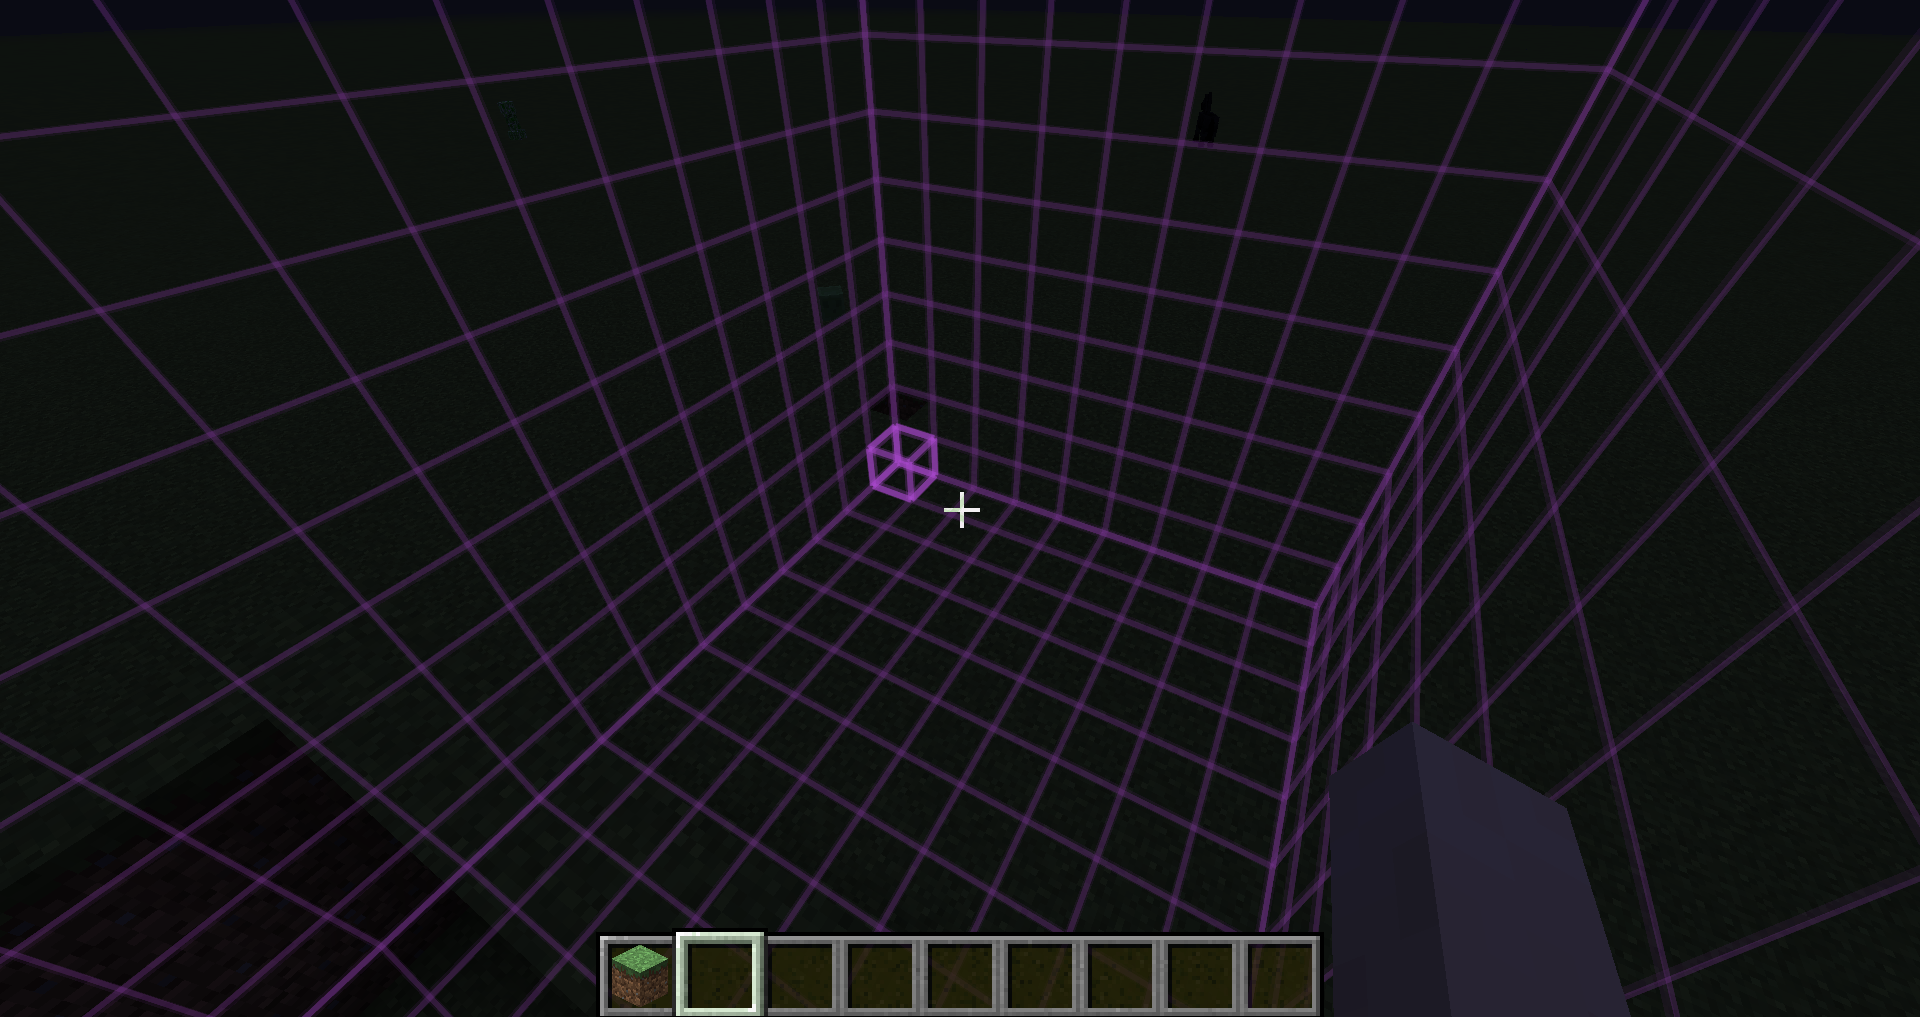
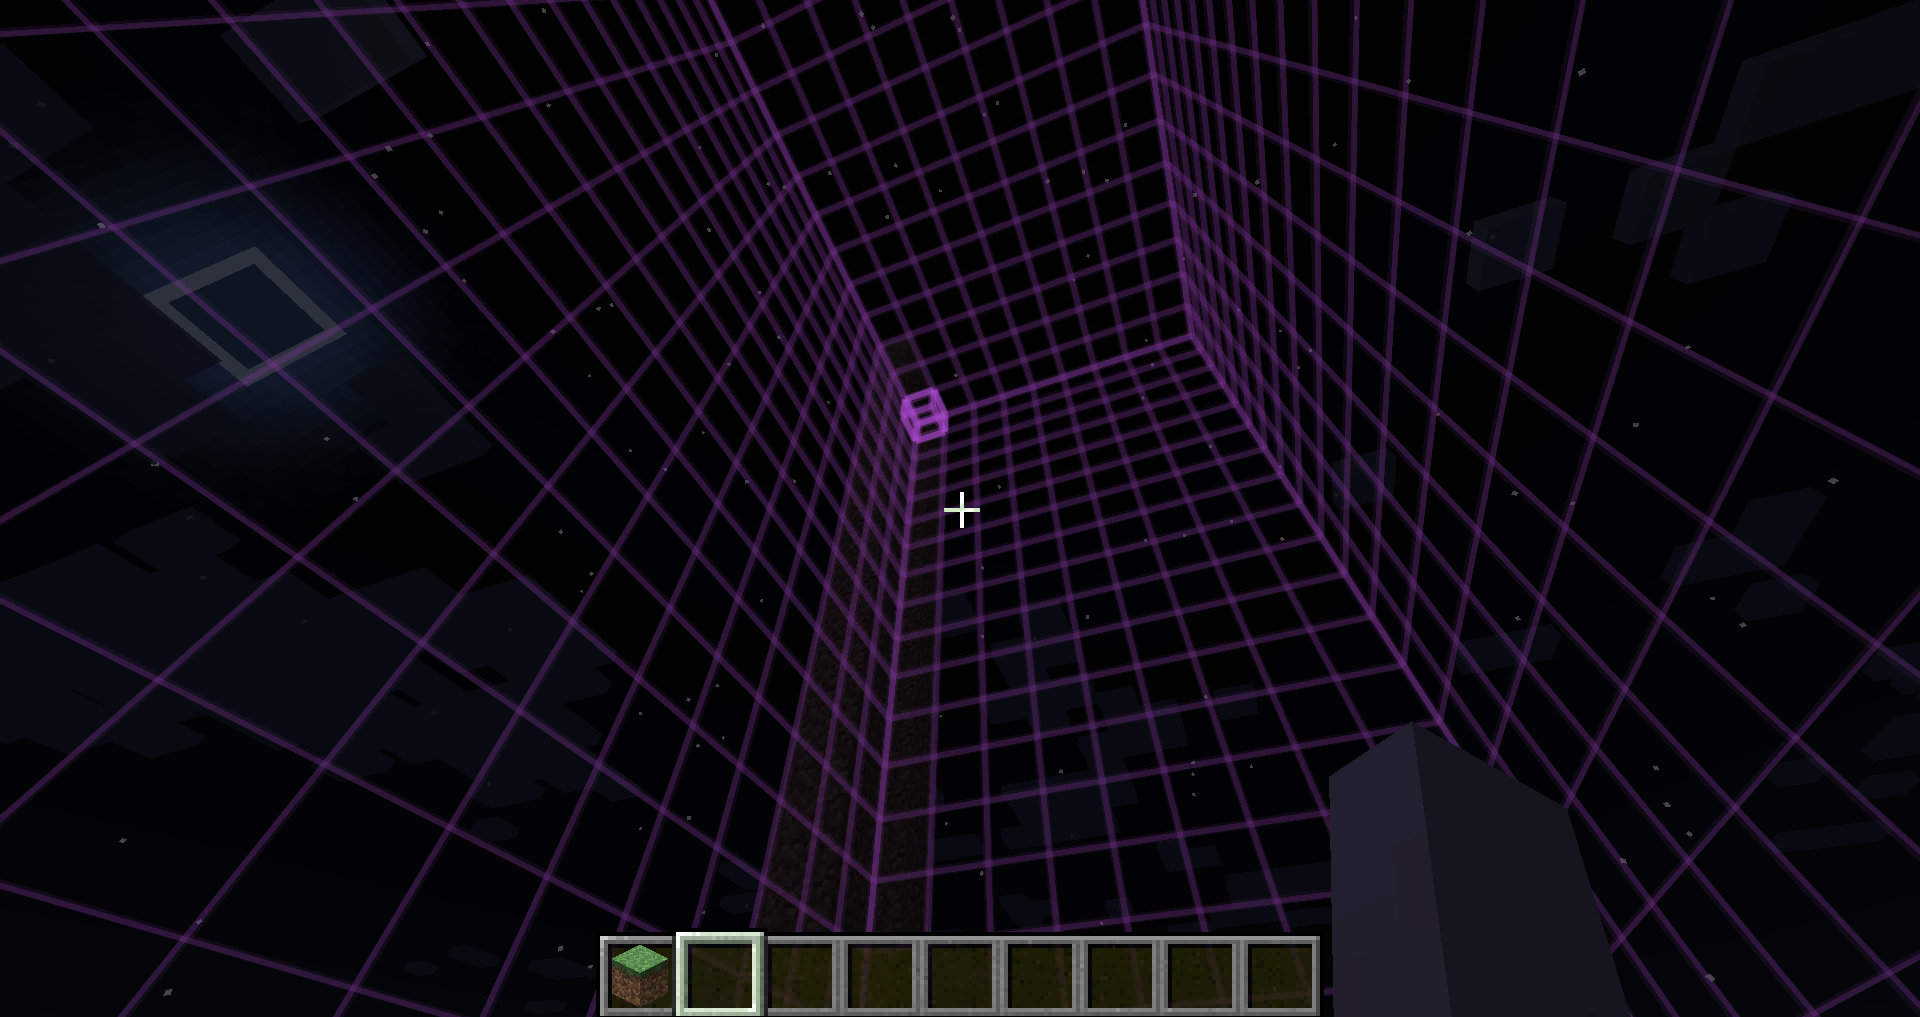
After selecting the top corner we automatically see the new bounds as marker.
mepeisen - 04-14-2017 08:25 - Let us find a sign
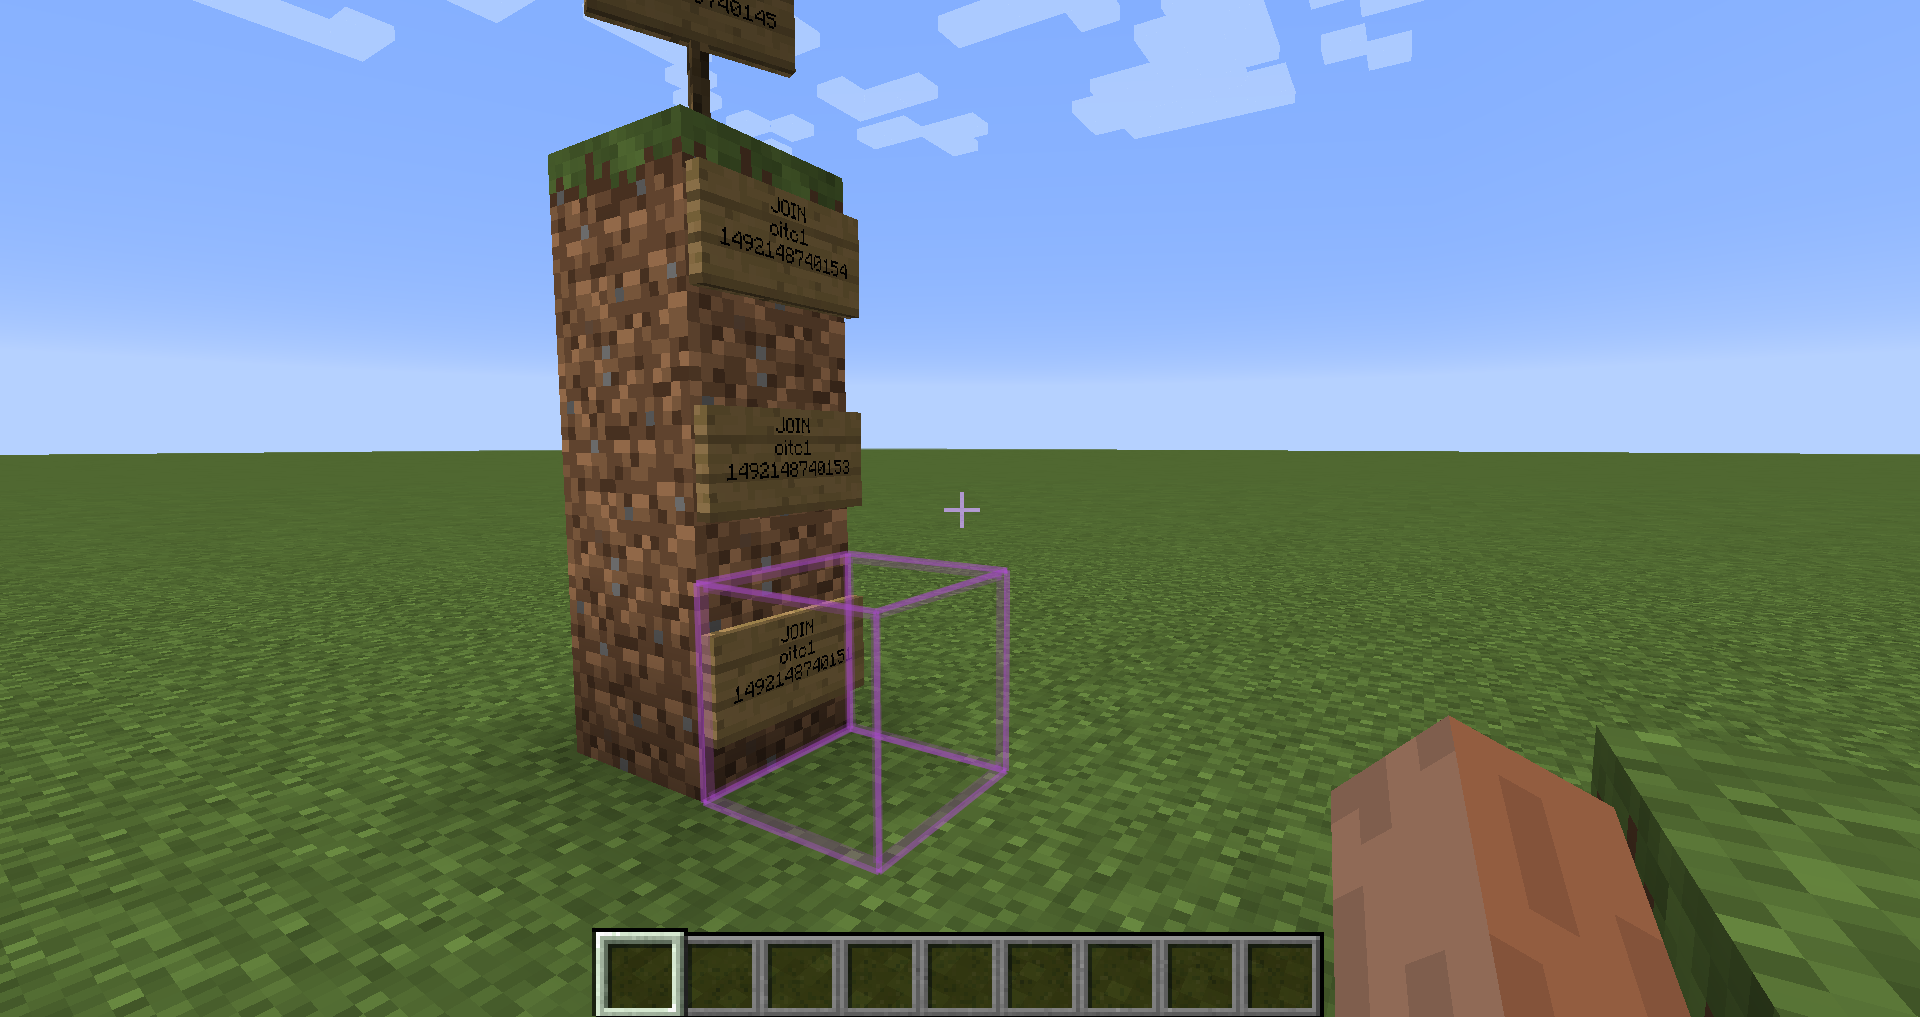
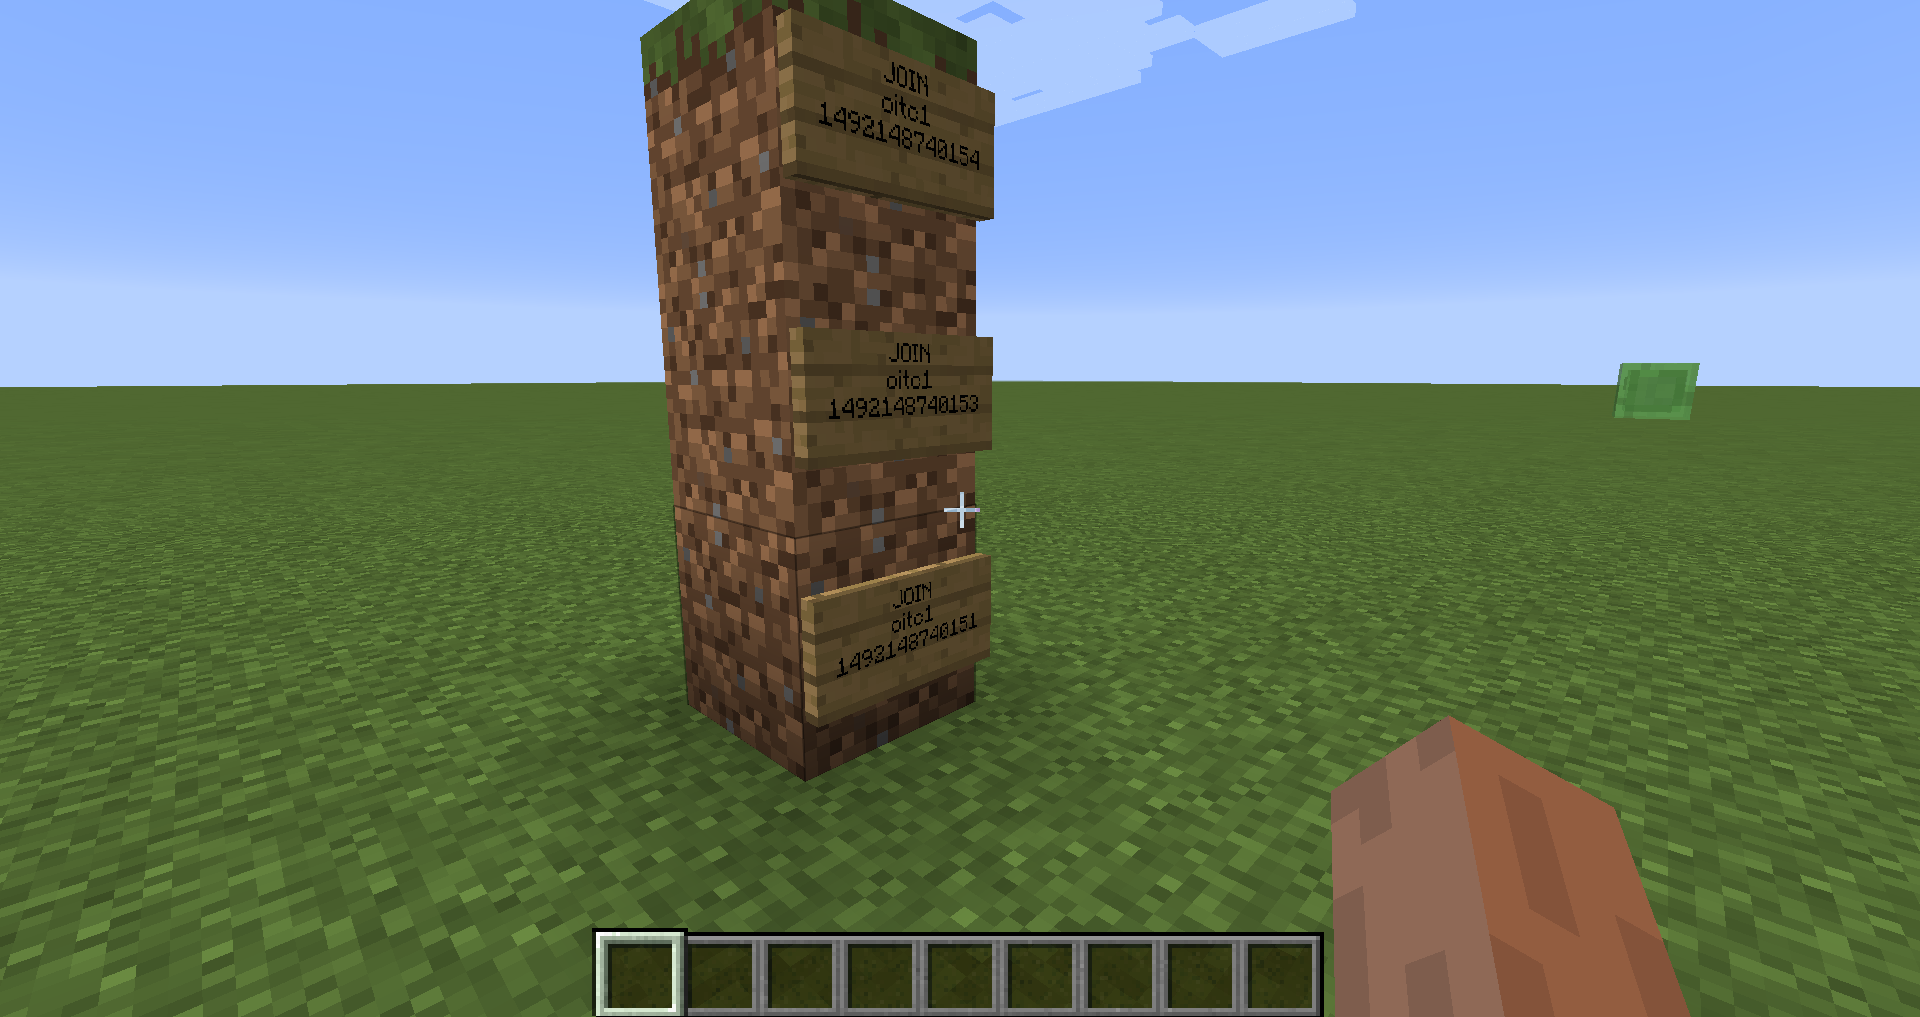
Let us assume we have a huge arena with multiple signs.
We want to locate the signs for some maintenance.
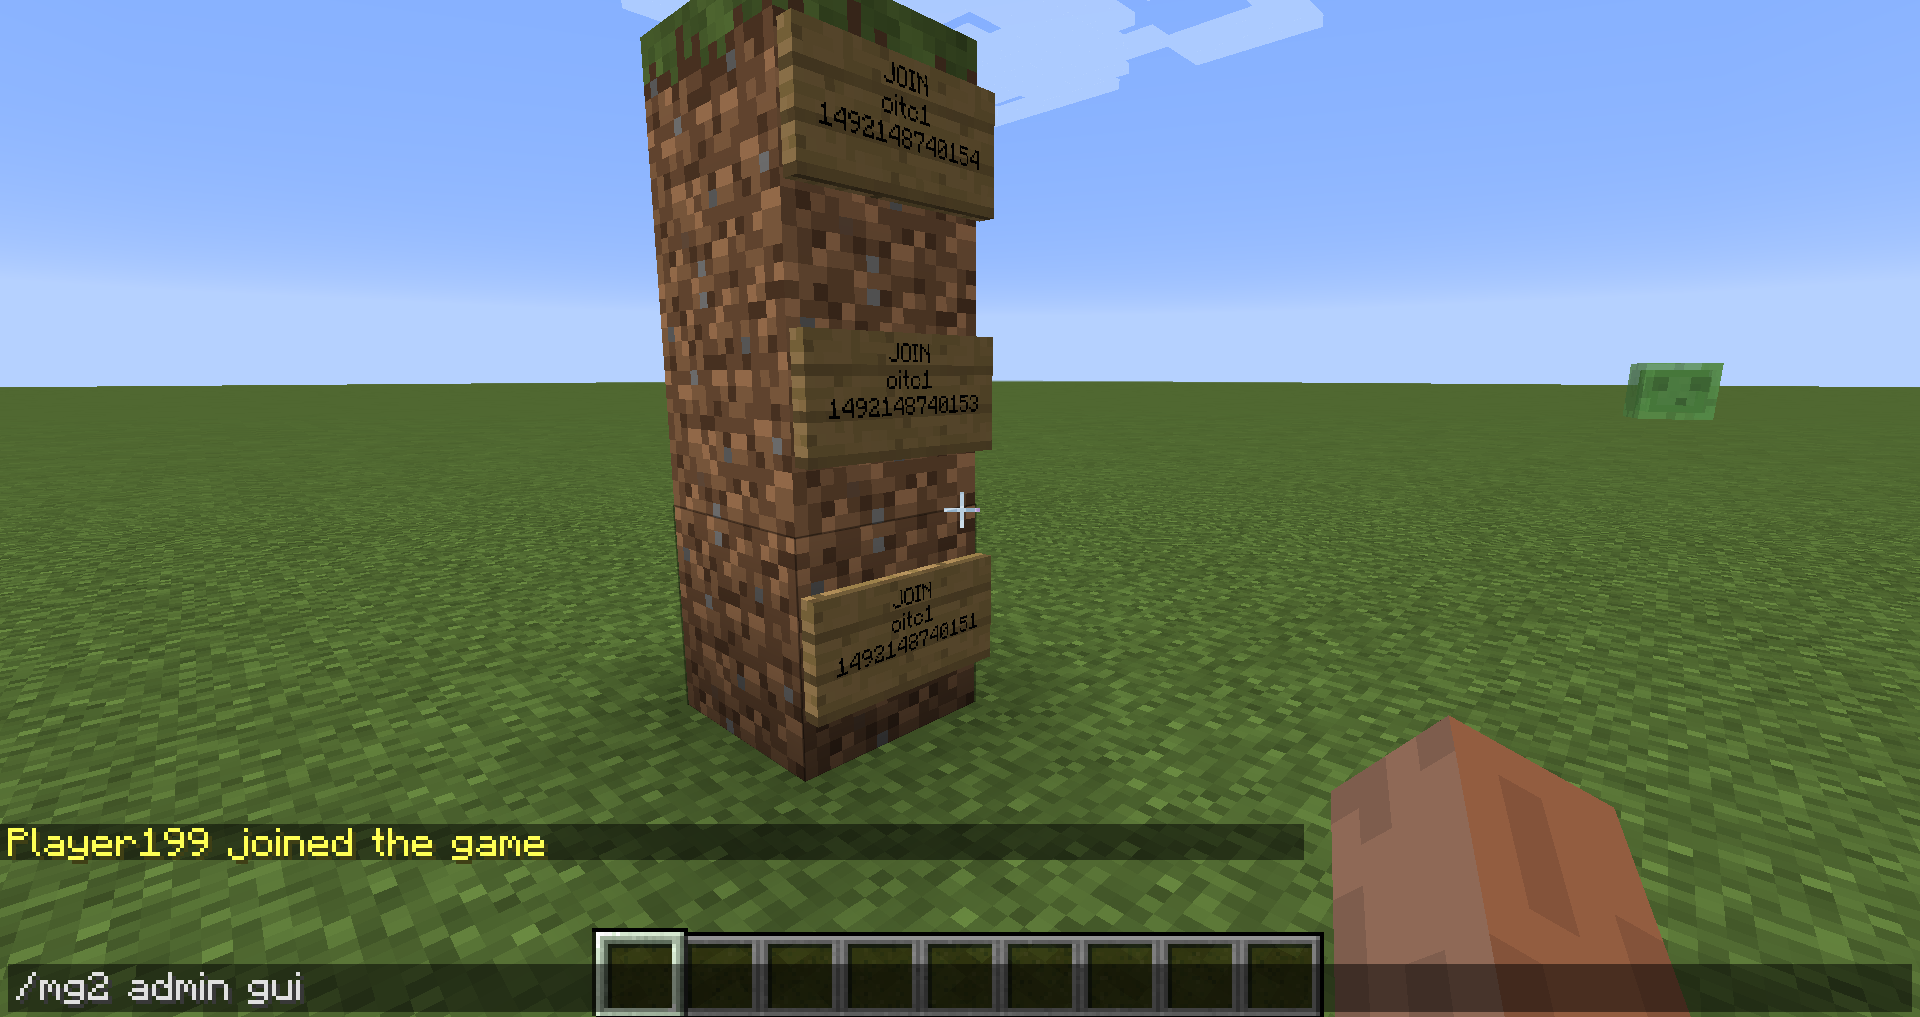
First of all we start the admin gui by chat command:
/mg2 admin gui
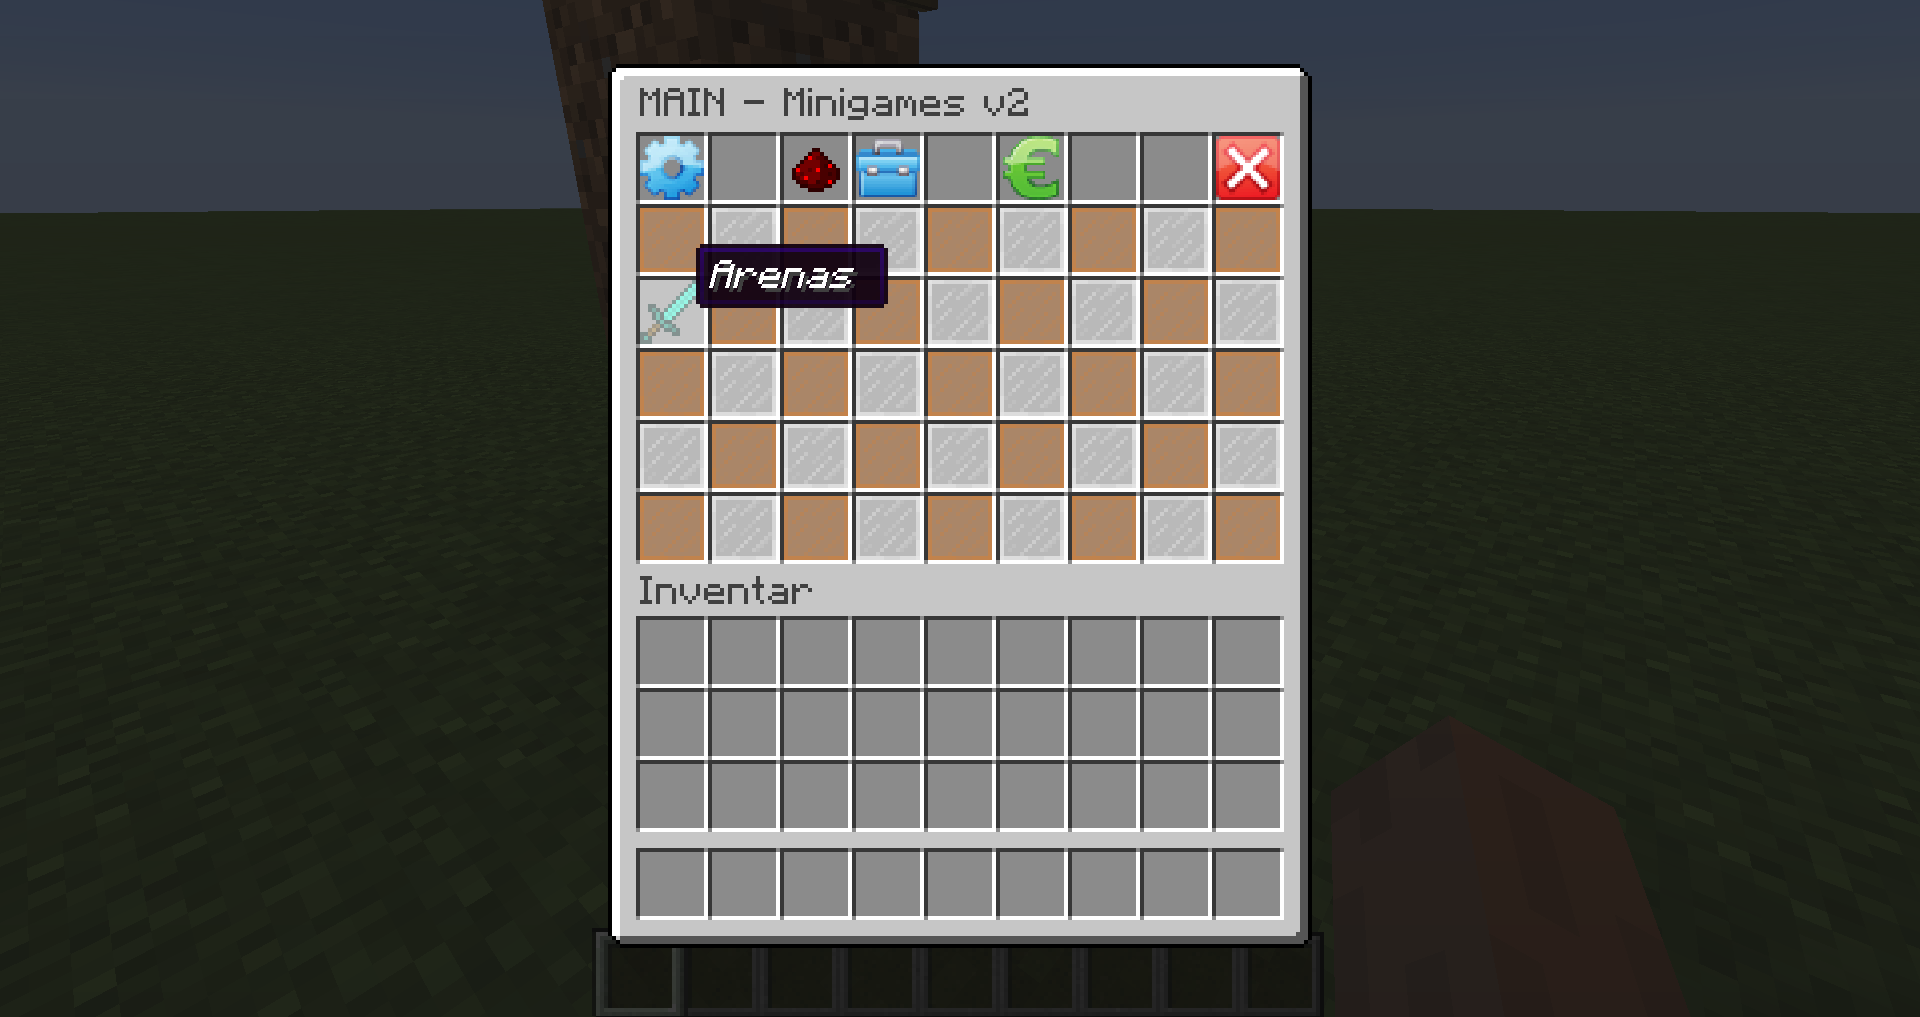
This is a smart container gui.
Now we click the "arenas" item.
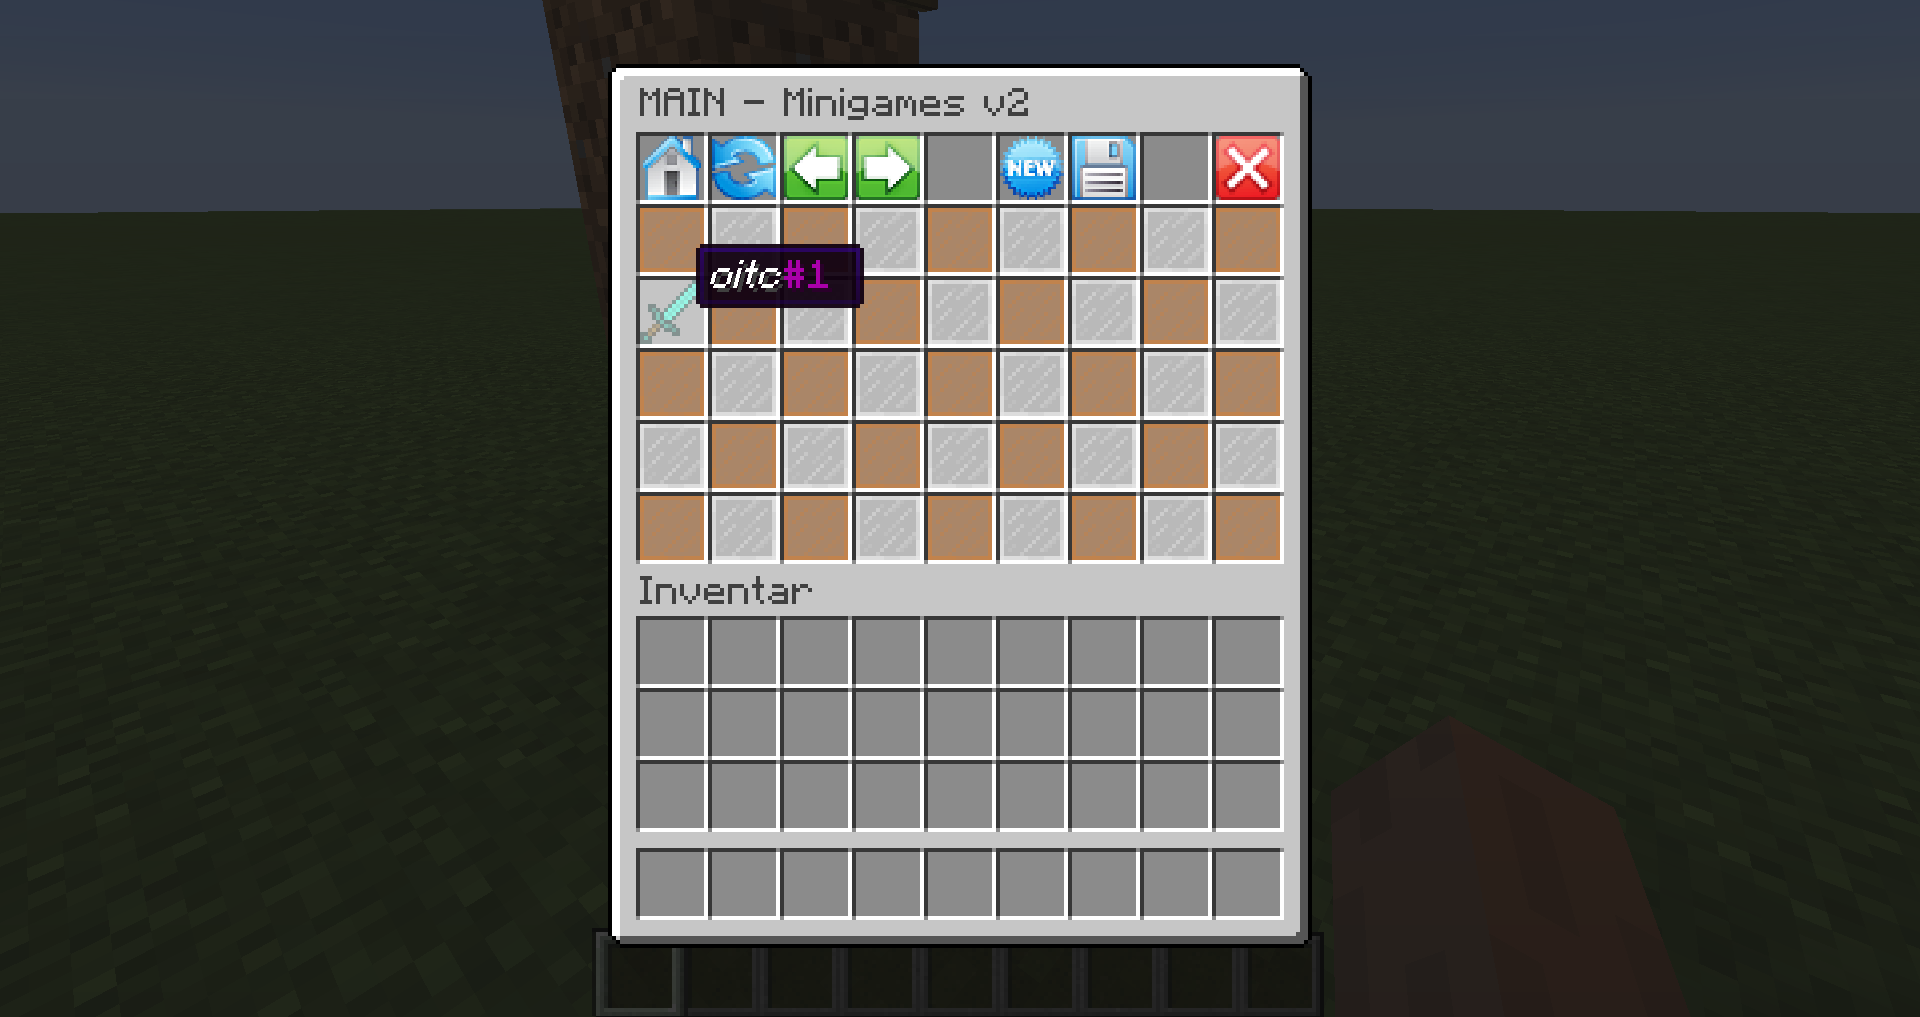
In following menu we click the arena we want to edit.
In our sample we called the arena "oitc#1" and we used some nice coloring.
We got into the arena edit menu.
In the last row we find the icons to edit the arena objects.
The third icon is our signs button.
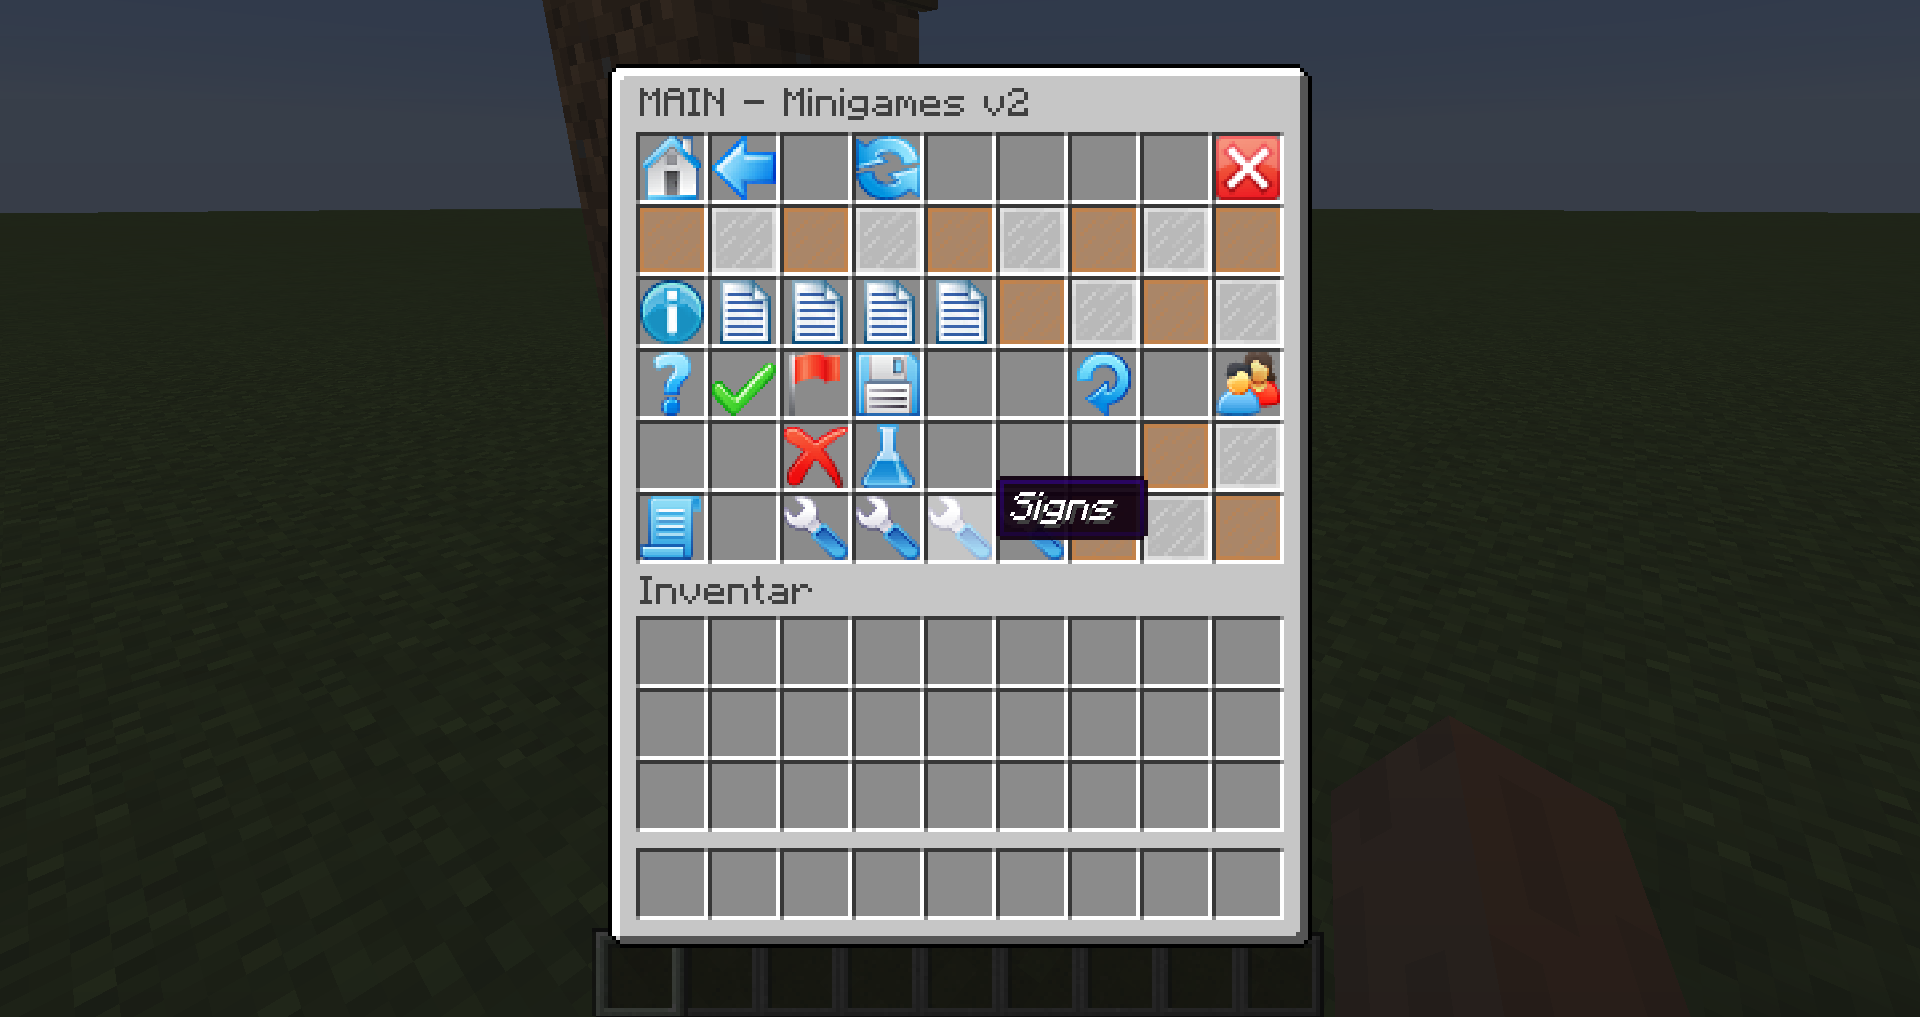
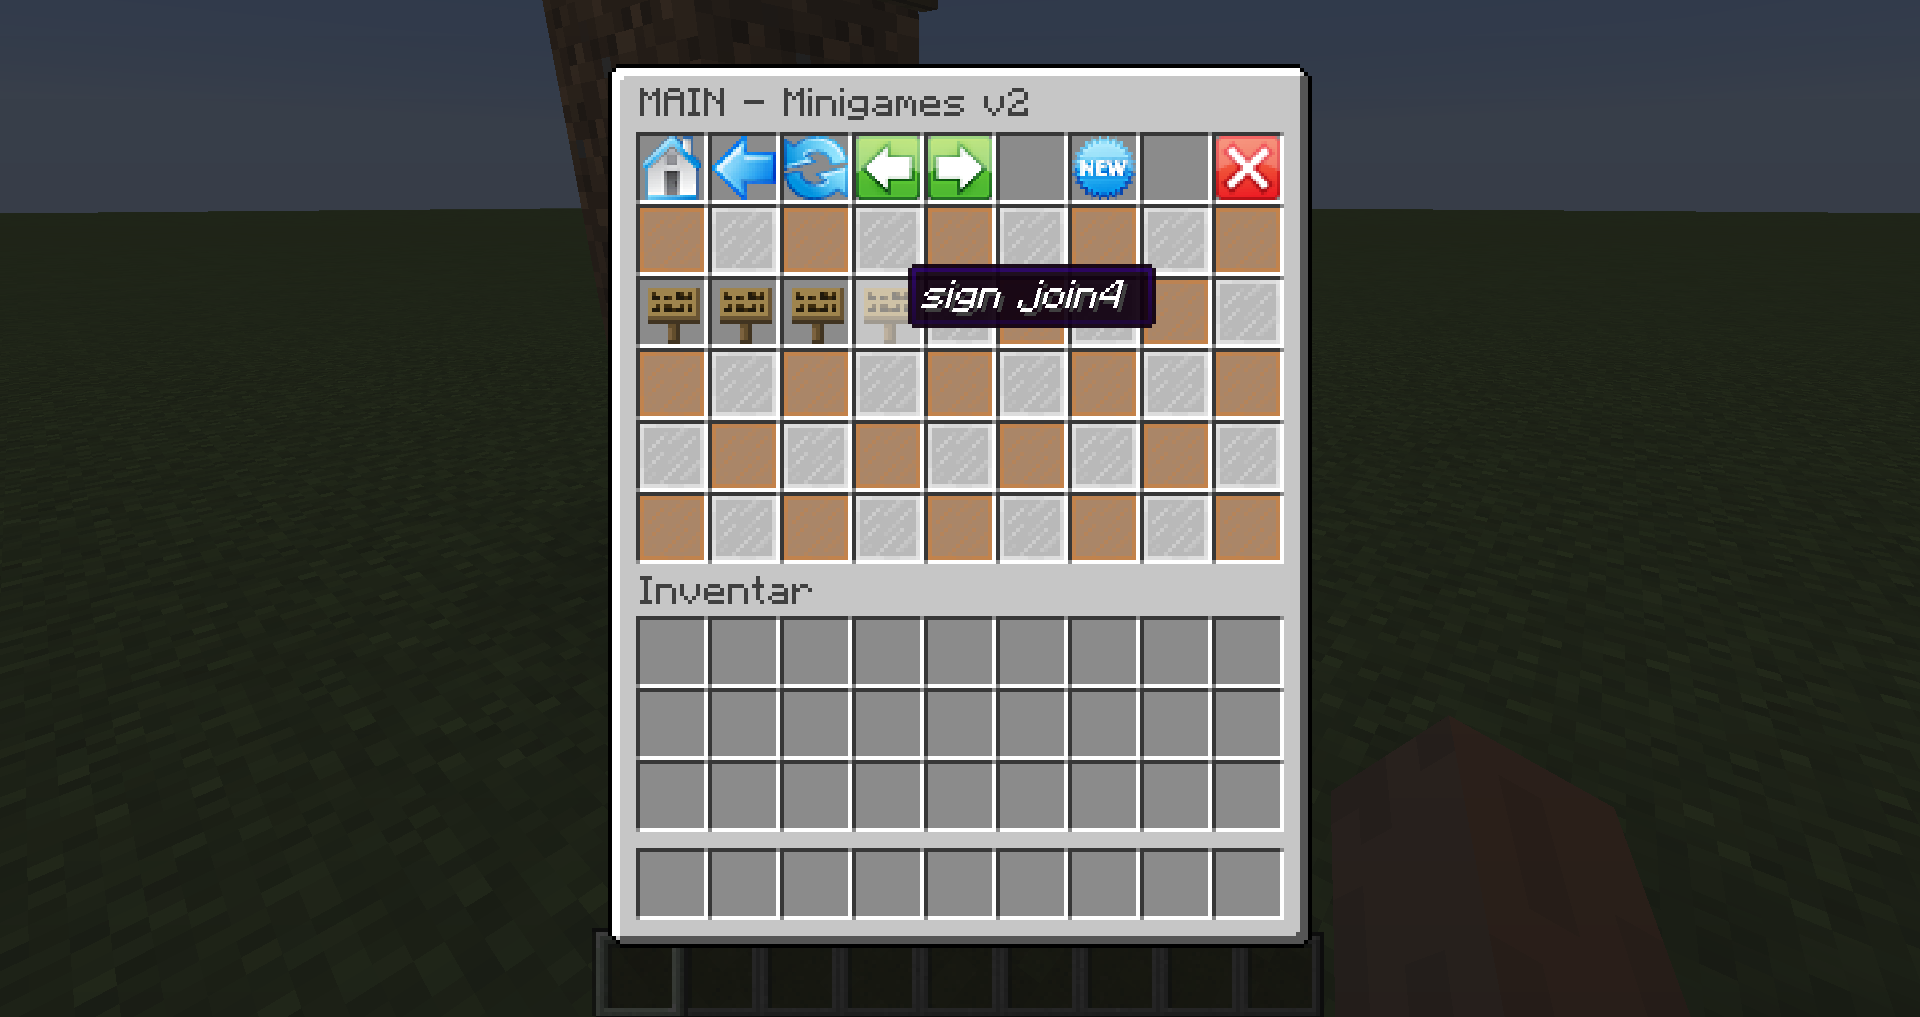
Within signs menu we can see all the signs.
Currently we have 4 signs. You can give them any name you like.
Let us now select the last sign called "join4".
We can now edit the sign.
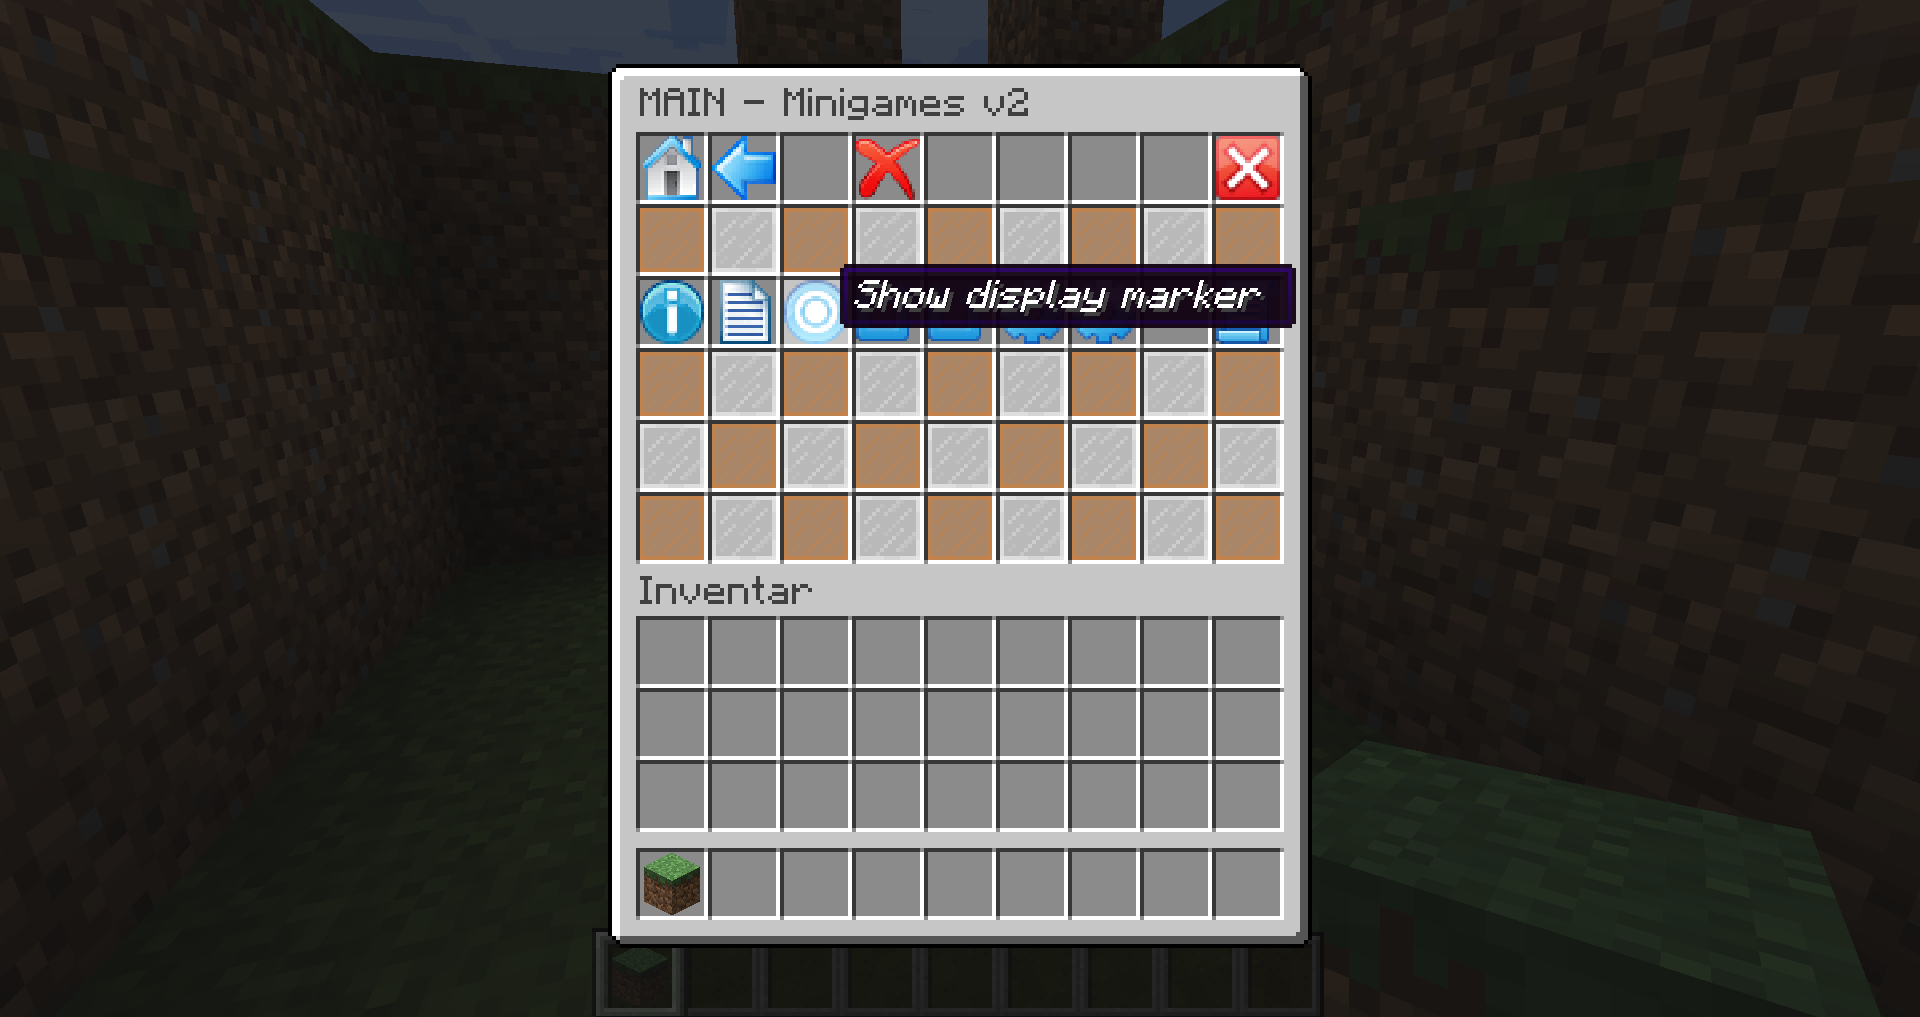
Let us now select "show display marker" button.
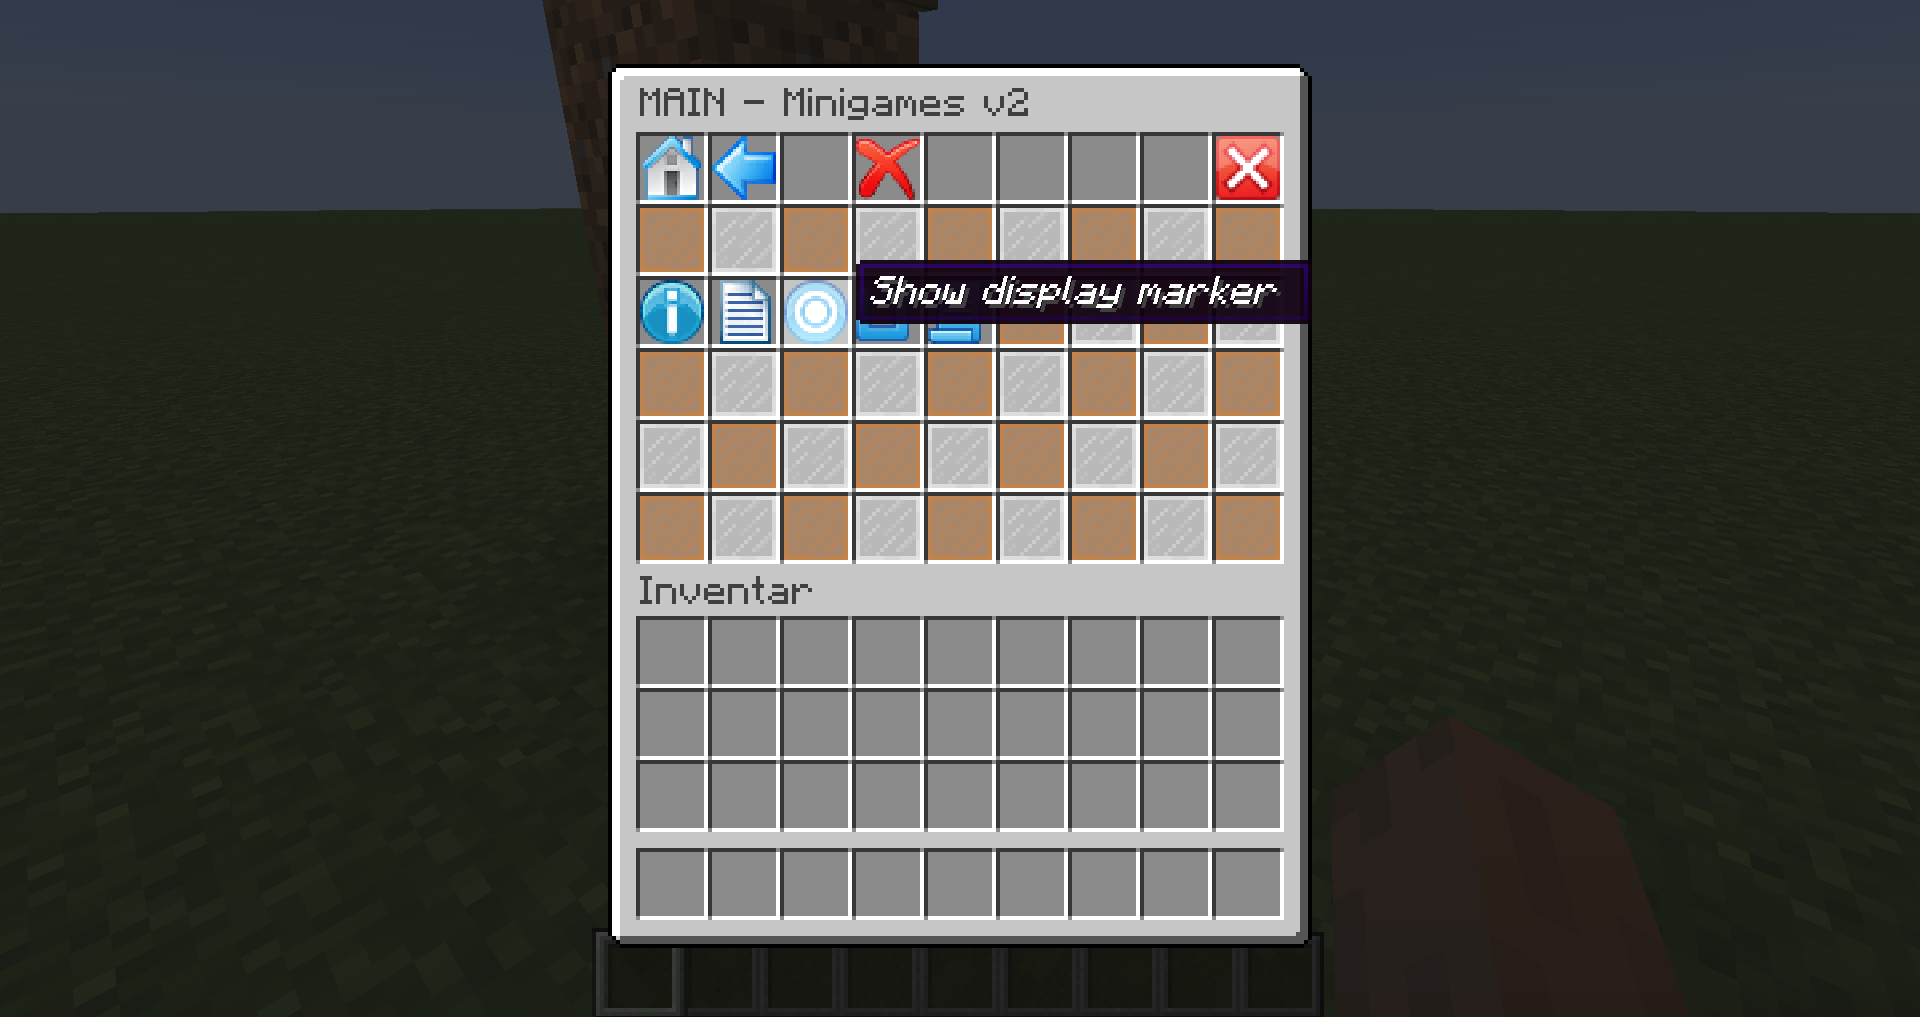
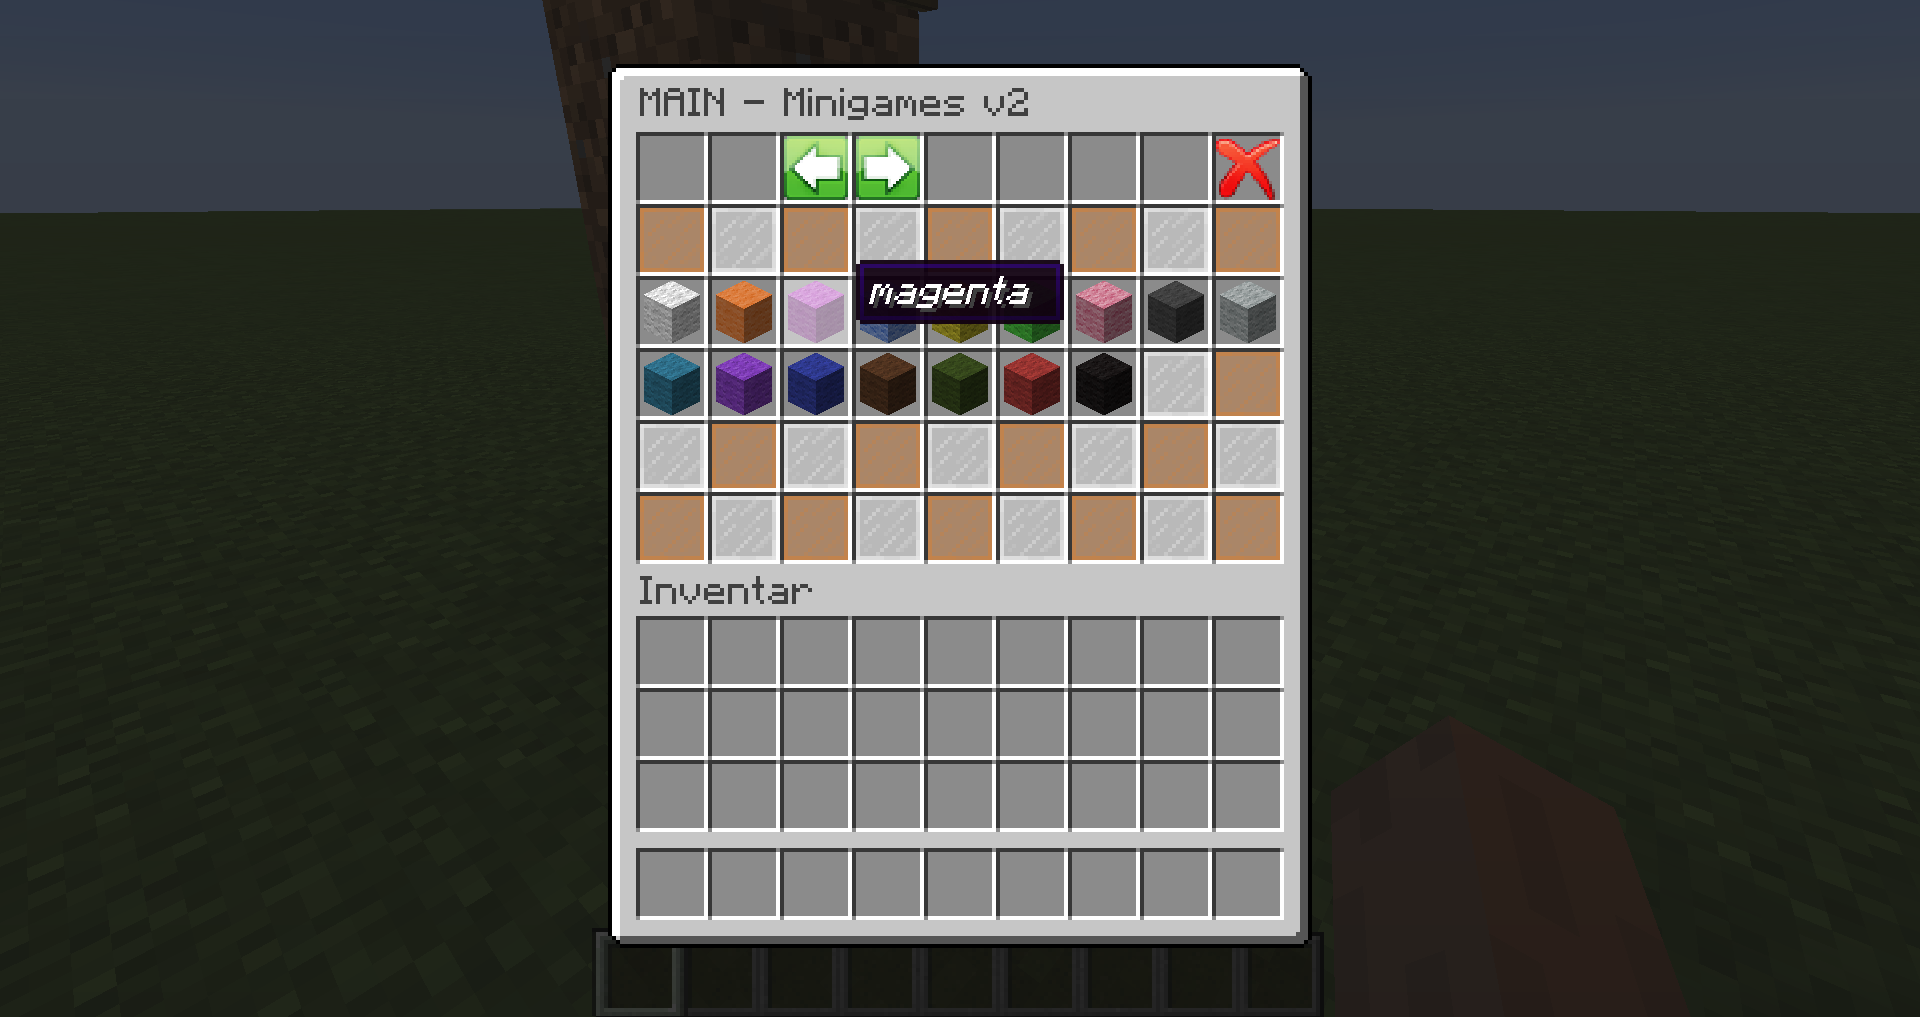
This is the last step.
We choose any display color from given wool icons.
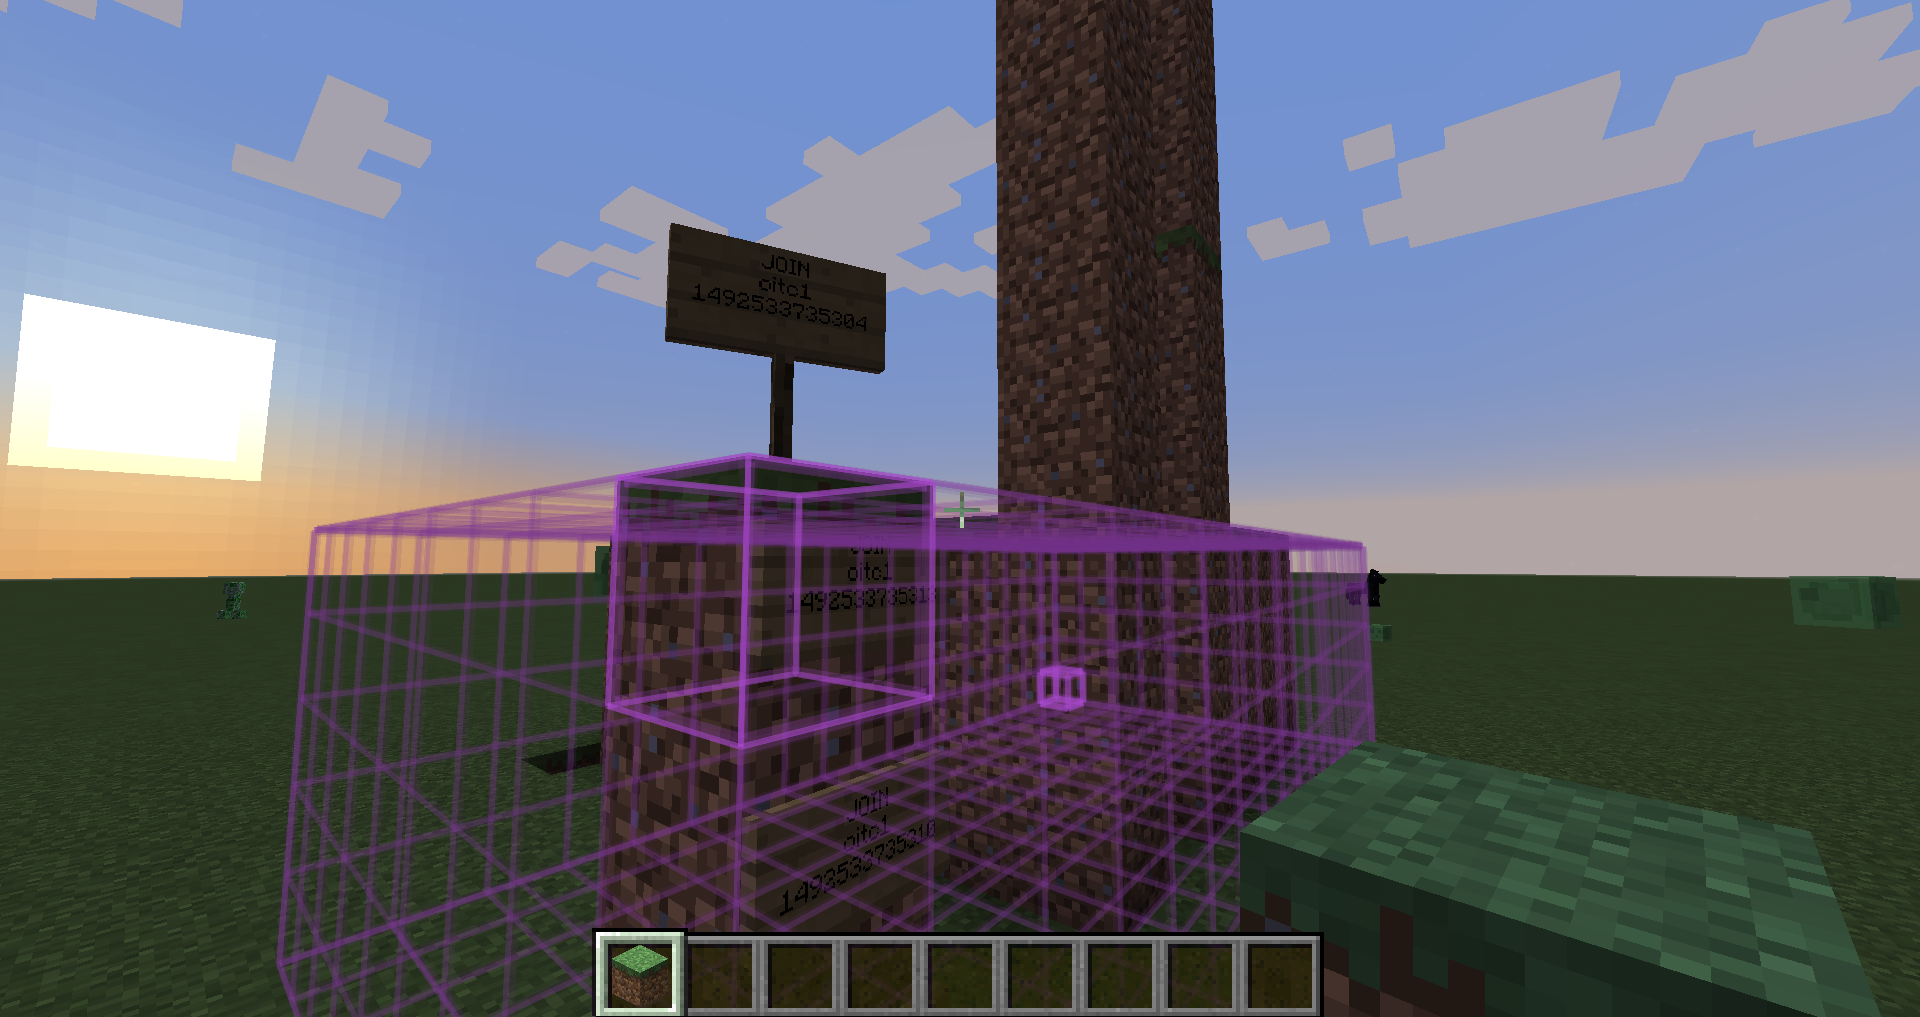
Hey, after choosing the magenta wool we got a marker in our minecraft.
We can see the marker from any distance.
To deselect the markers we simply go to the same menu and click the magenta wool again.